1 - Introduction

2 - Expo vs React Native
不是学习react native吗?怎么出现了一个expo又是什么?
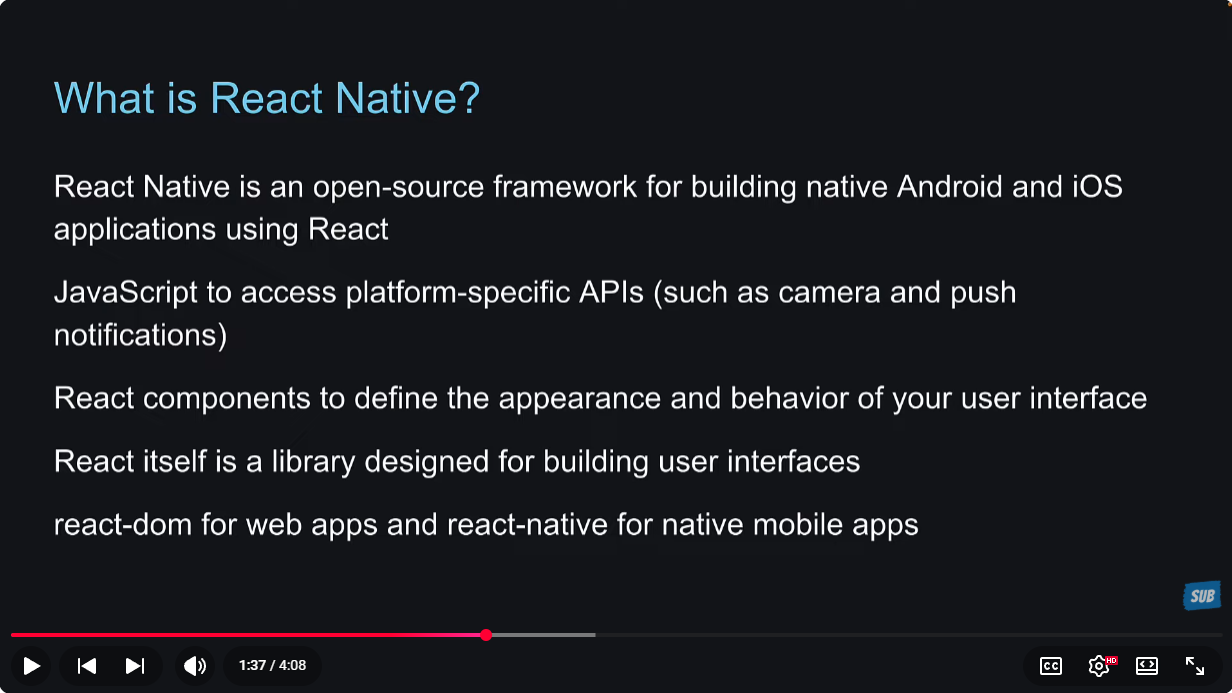
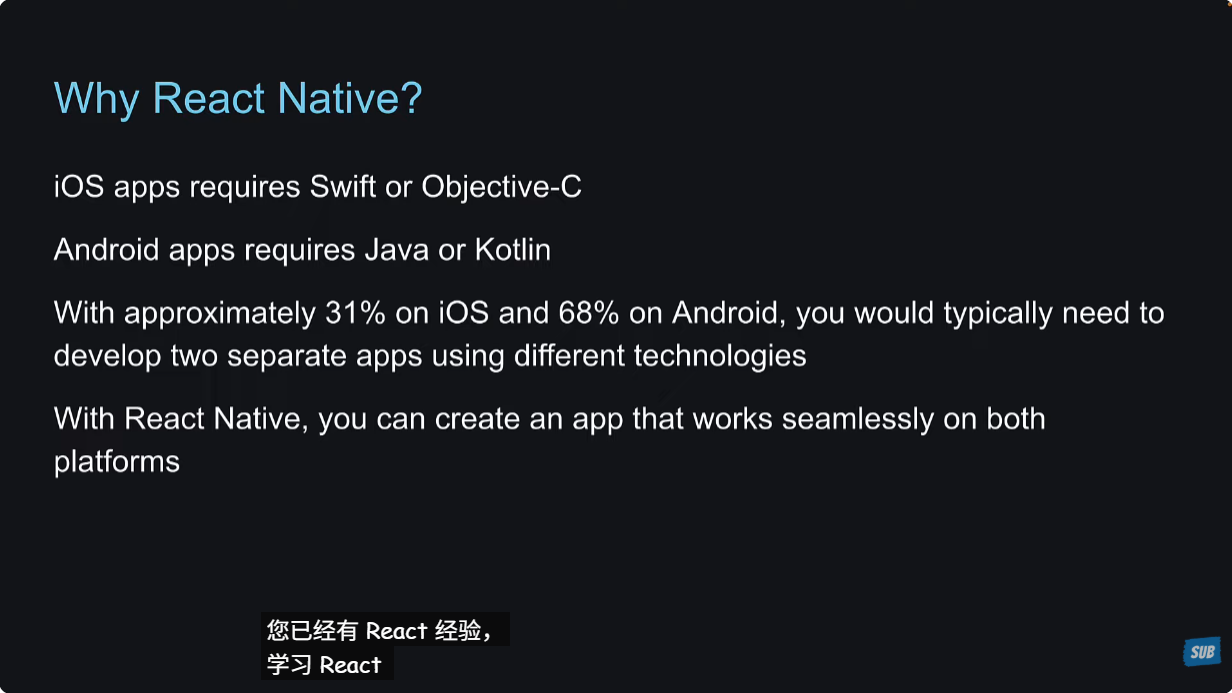
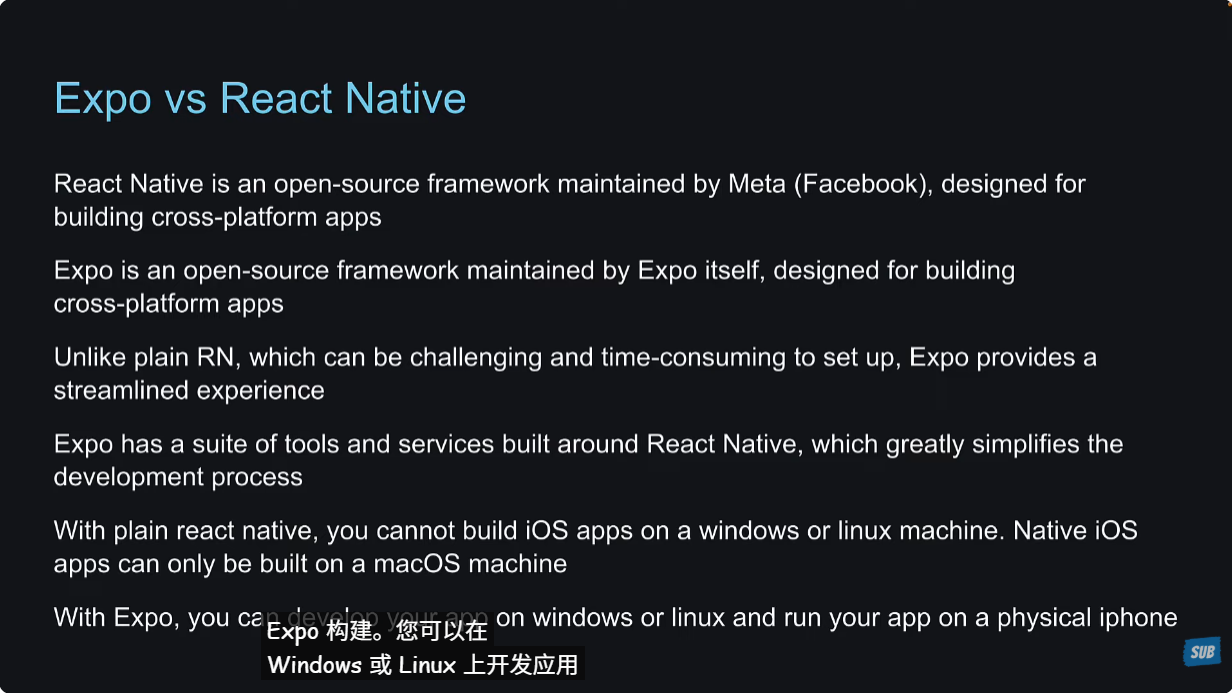
因为从零建立一个react native项目很复杂,所以出现了expo框架来帮助我们,就像react里面的nextjs一样,都是为了更好的做项目。
现在react native官方推荐使用expo这个框架来编写,所以直接学习这个expo框架。
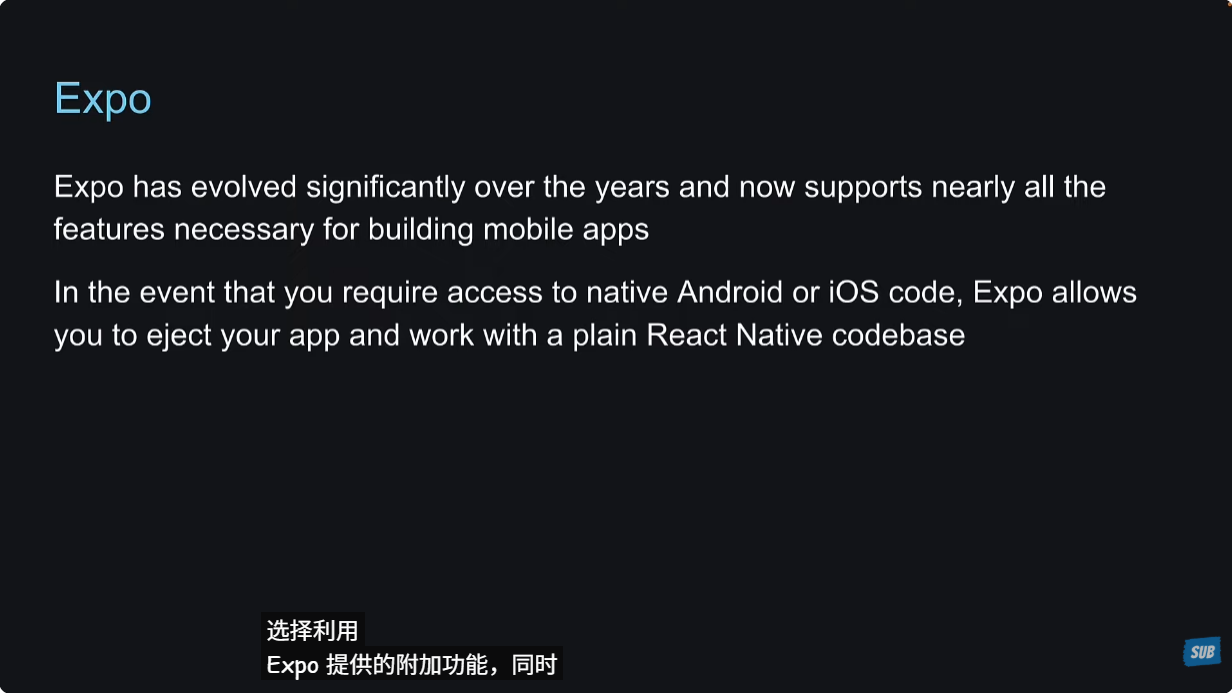
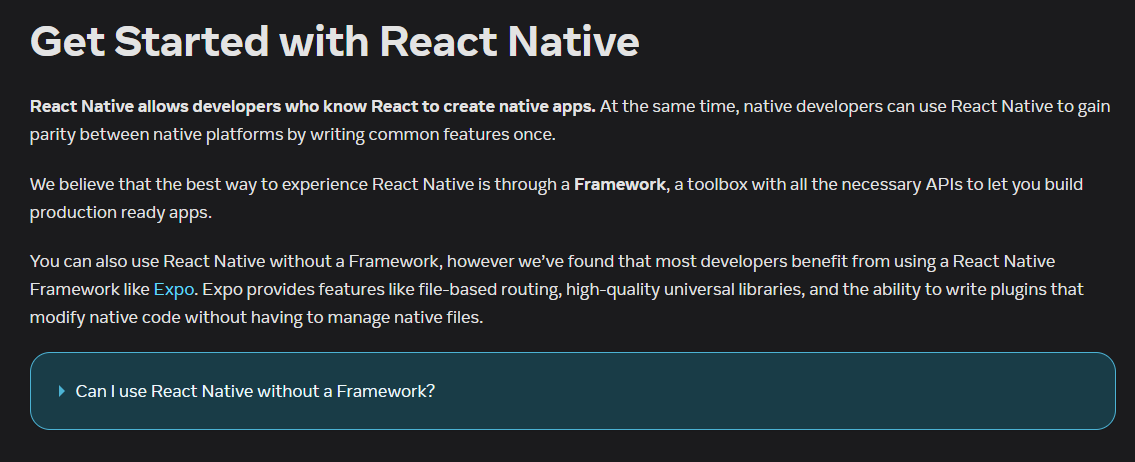
官方推荐:
3 - Hello World
参考文档:https://docs.expo.dev/tutorial/create-your-first-app/
创建项目npx create-expo-app@latest --template HelloWorld,再运行npm run reset-project,输入n,先来看一下项目结构。
reset-projectscript resets the app directory structure in a project and copies the previous boilerplate files from the project's root directory to another sub-directory called app-example. We can delete it since it is not part of our main app's structure.
重要的是app.json文件,里面控制项目在开发、构建、提交和更新应用期间的行为。
app文件夹里面的index.ts,就是项目的首页。
4 - Running App on Device
npx expo start运行项目,在手机上安装expo go应用,使用ios自带的二维码相机扫描,就可以在手机上打开项目了。而且代码的修改能够实时在手机上查看,这一点太棒了。
如果手机上没有及时更新,可能就是之前项目报错了或者是手机切换到别的应用了,此时需要在命令行里面输入r,来reload app,这样就可以实时更新了。
5 - Running App on iPhone Simulator
这个只能运行在macos上面,先不管。
6 - Running App on Android Emulator
这个要安装android studio,还是不安装了。
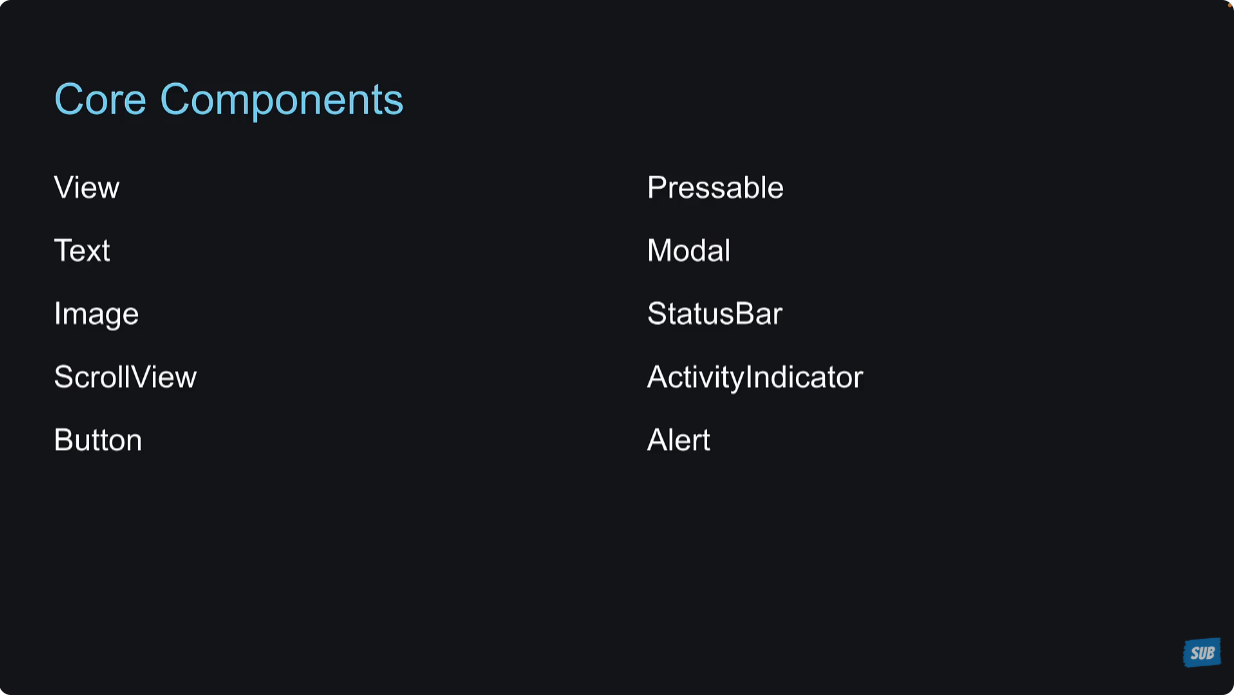
7 - Core Components
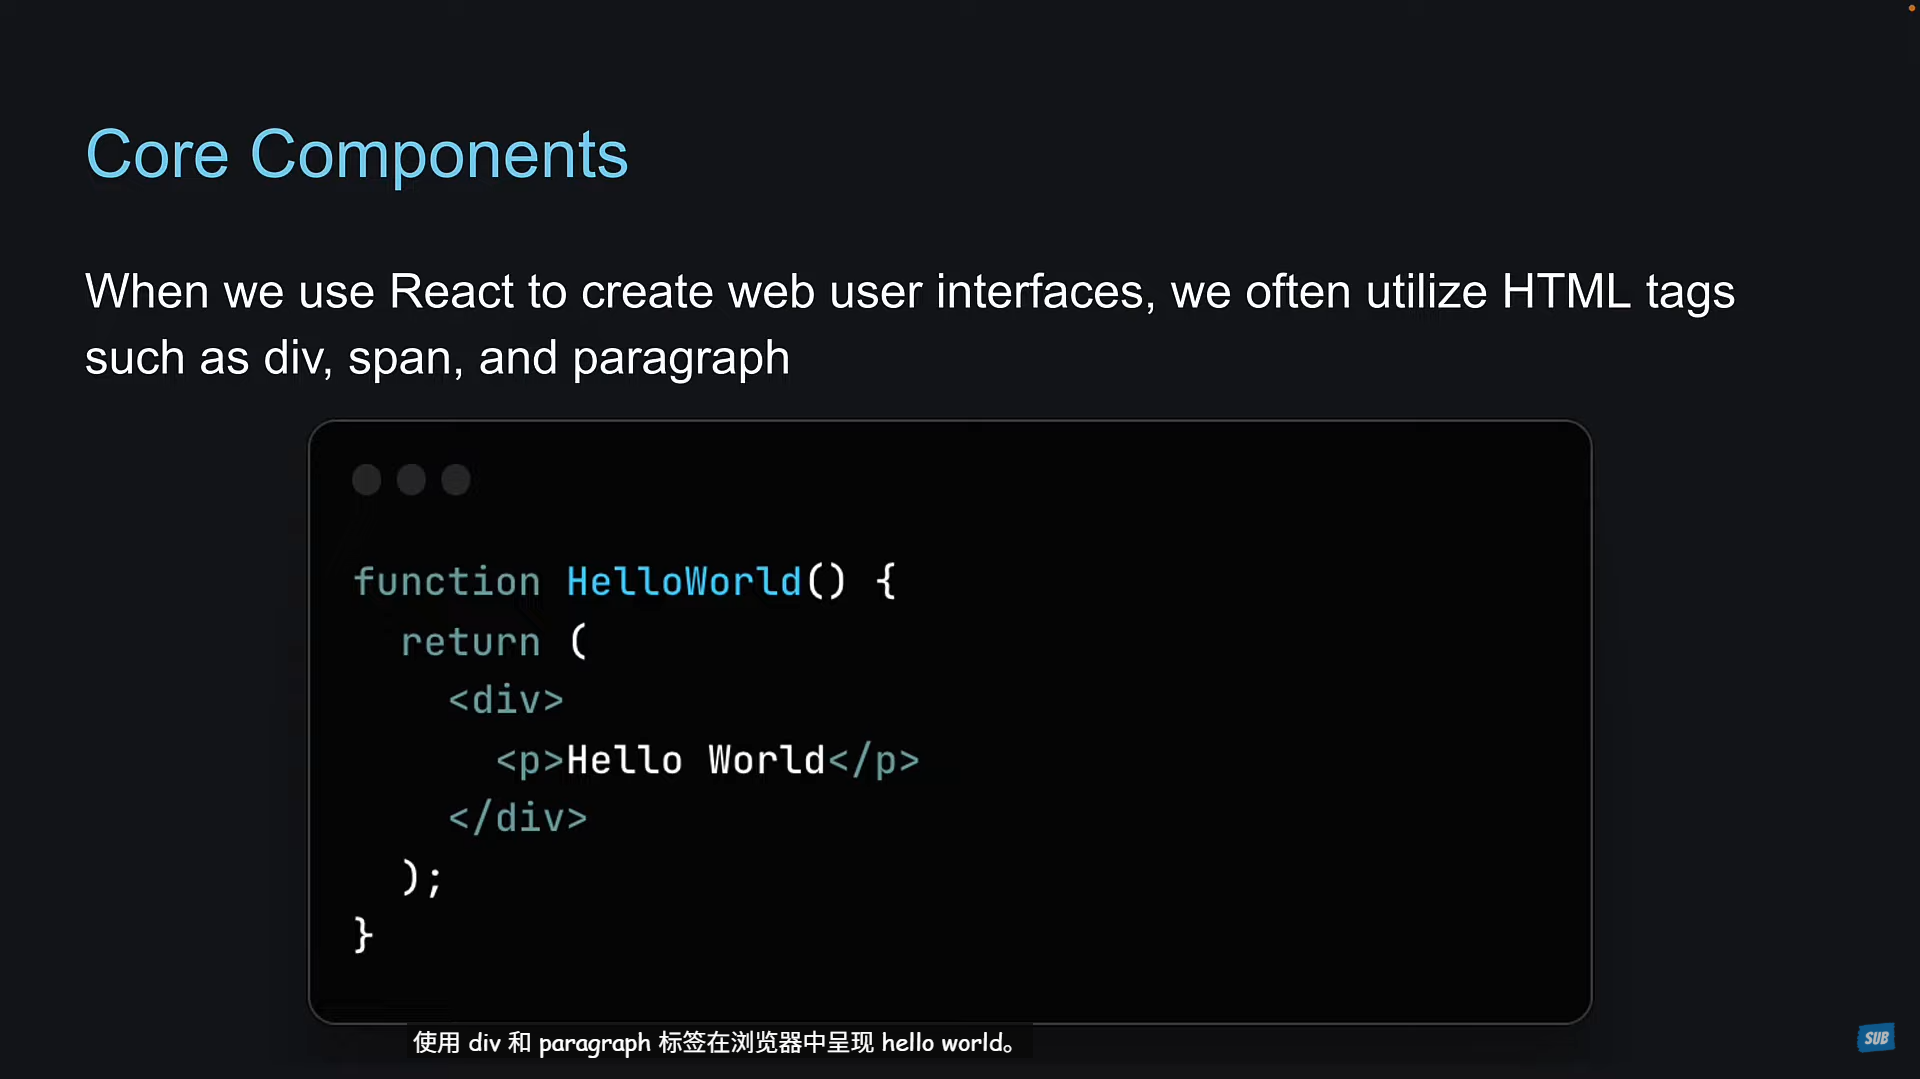
在react中,我们使用HTML tags来编写。
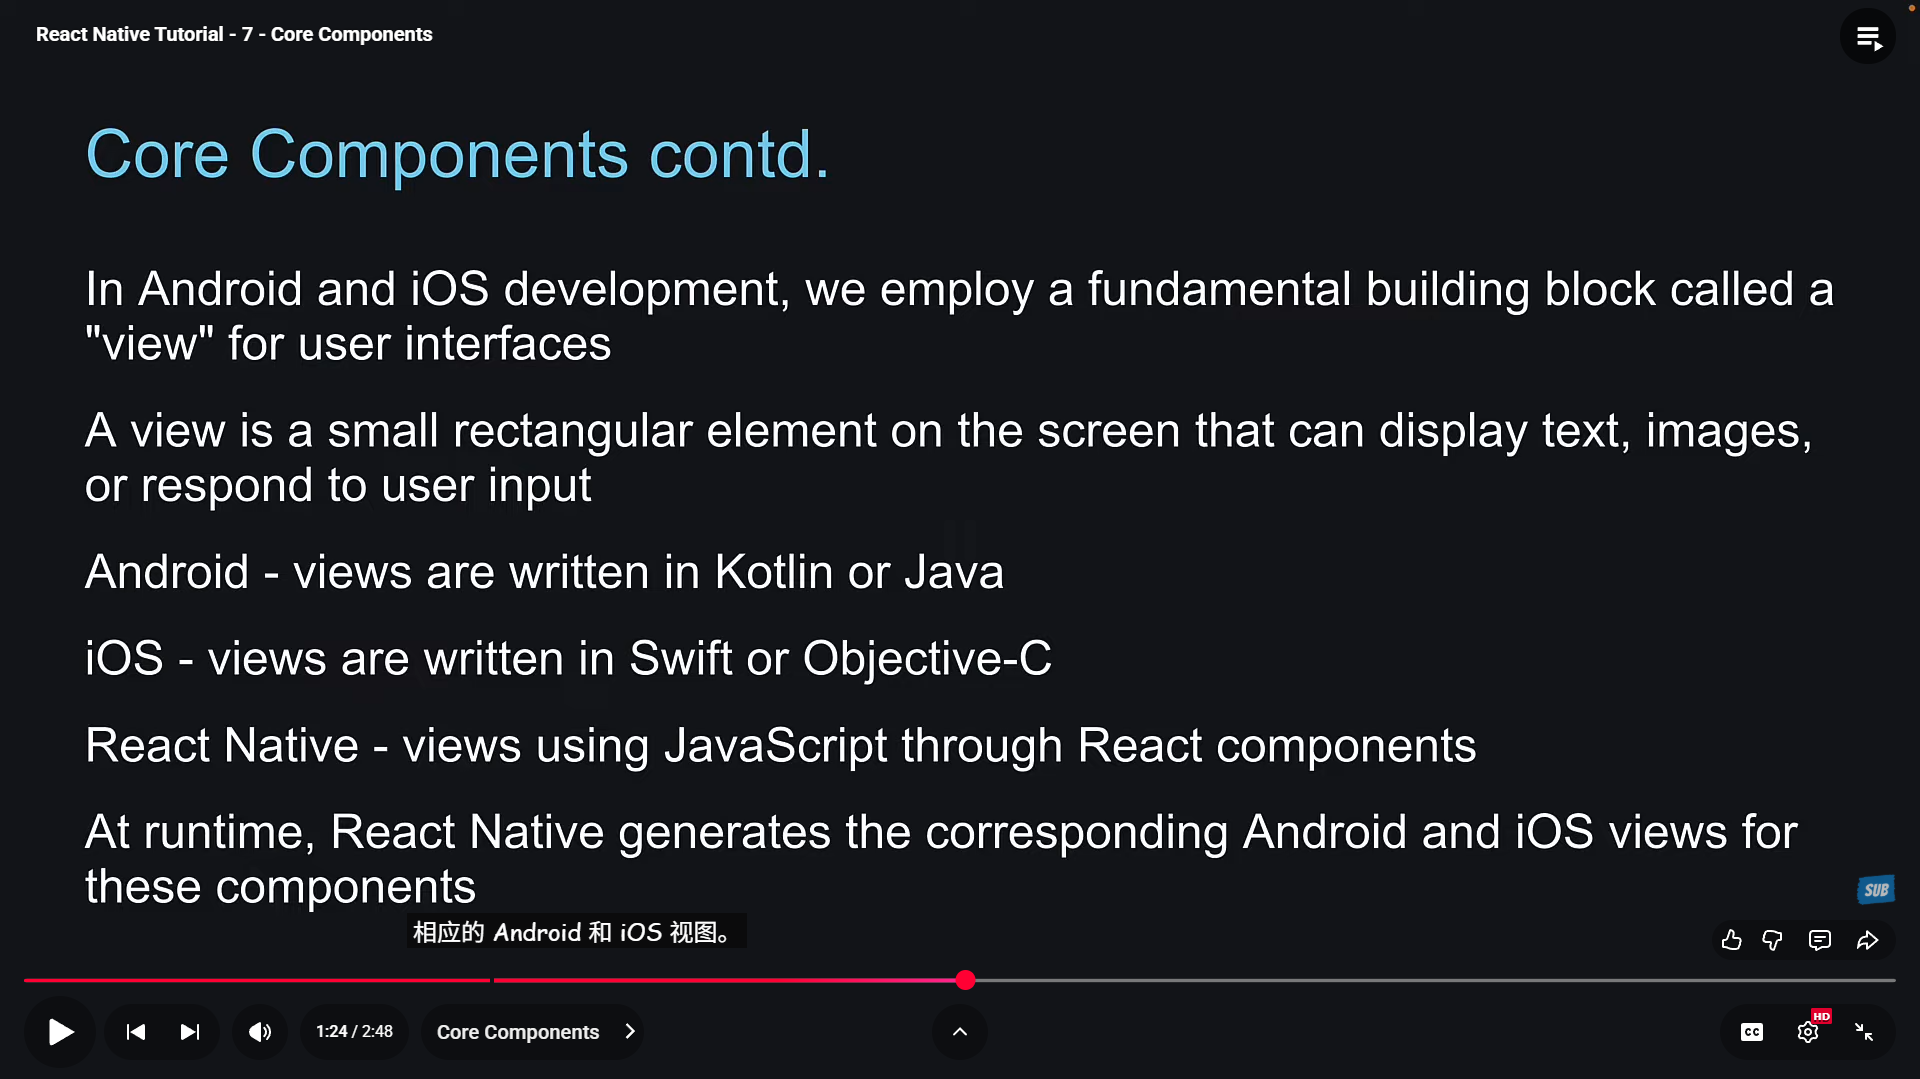
都是react native里面没有dom的概念,因为app不是运行在浏览器环境的,而是运行在ios或者android环境的。
在ios或者android中,使用view标签来表示块。view是一个小的长方形元素,可以展示文本、图片、对用户输入做出响应。
下面是一些react native提供的UI组件。
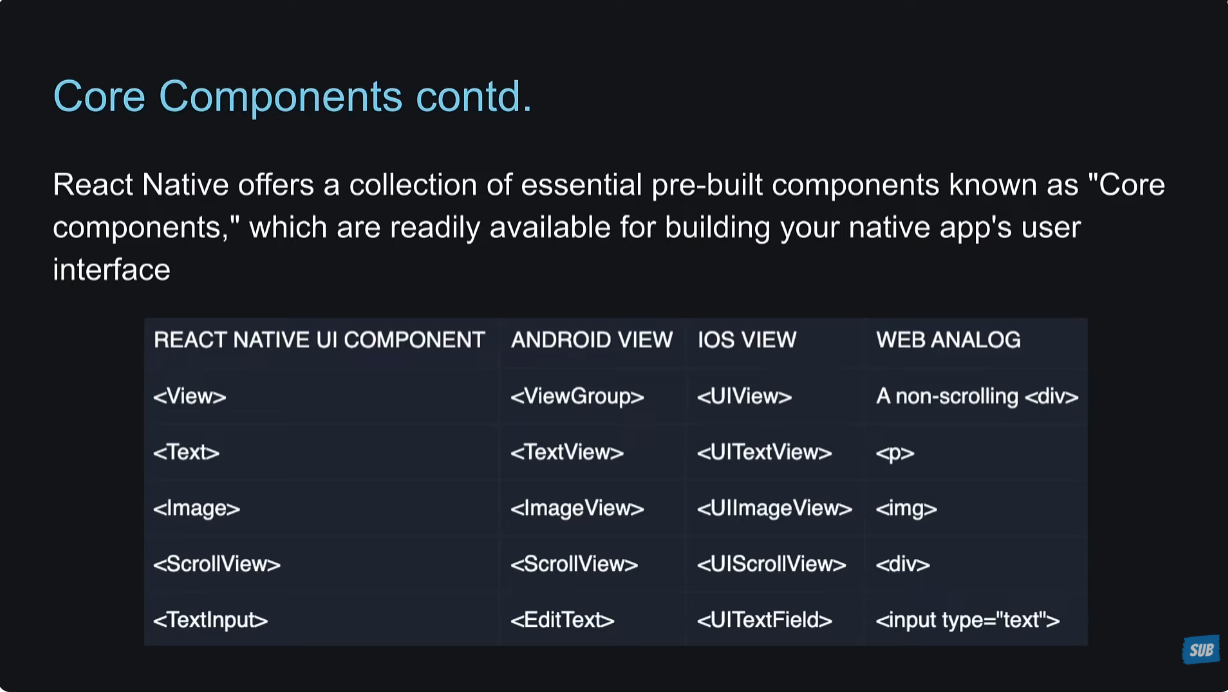
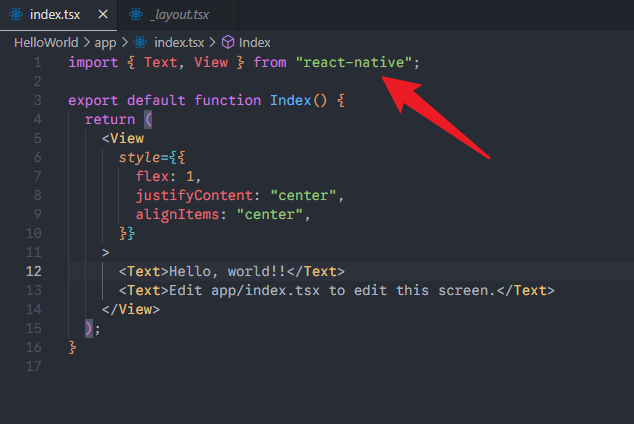
在react native中使用这些组件,需要先引入,然后才能使用。在react中使用div、img这些标签,就不需要先引入。这是不同的地方。
8 - View
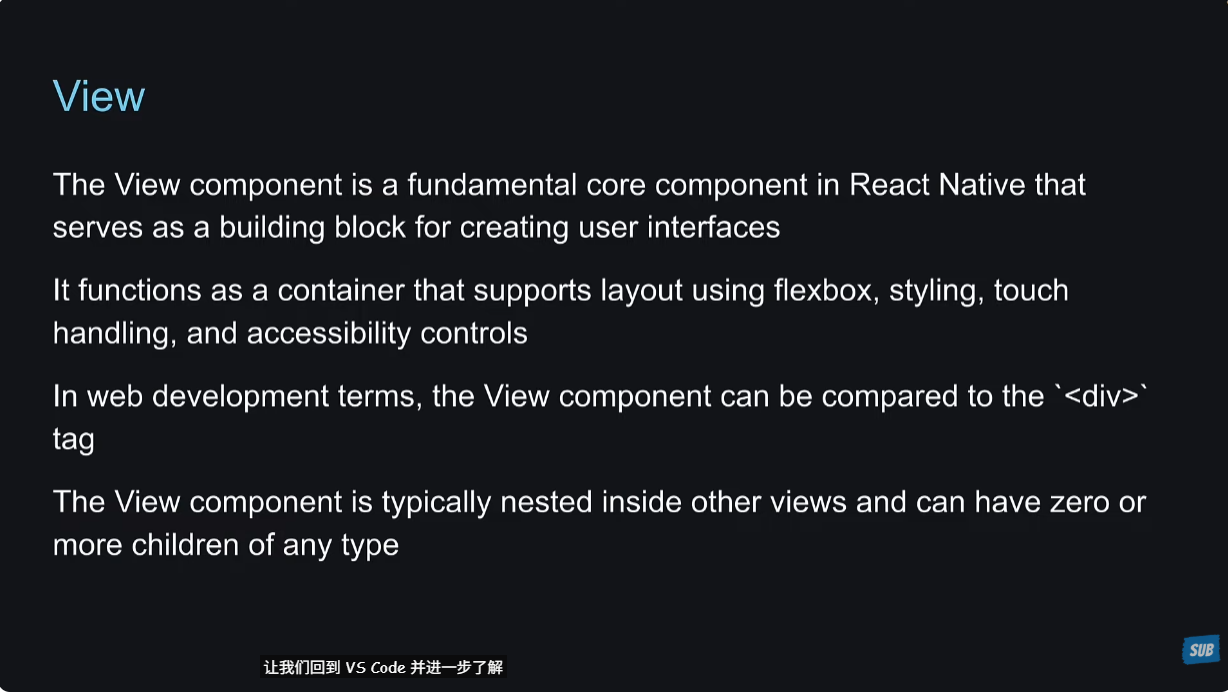
这一节讲解View组件,这个组件是react native 的核心组件之一,可以作为容器组件,相当于web里面的div标签。View组件可以嵌套在View组件中。
老师是创建了一个新的项目CoreComponents,但是我还是使用HelloWorld这个项目来学习。删除app/index.tsx里面的代码,自己写一些代码试一下效果。
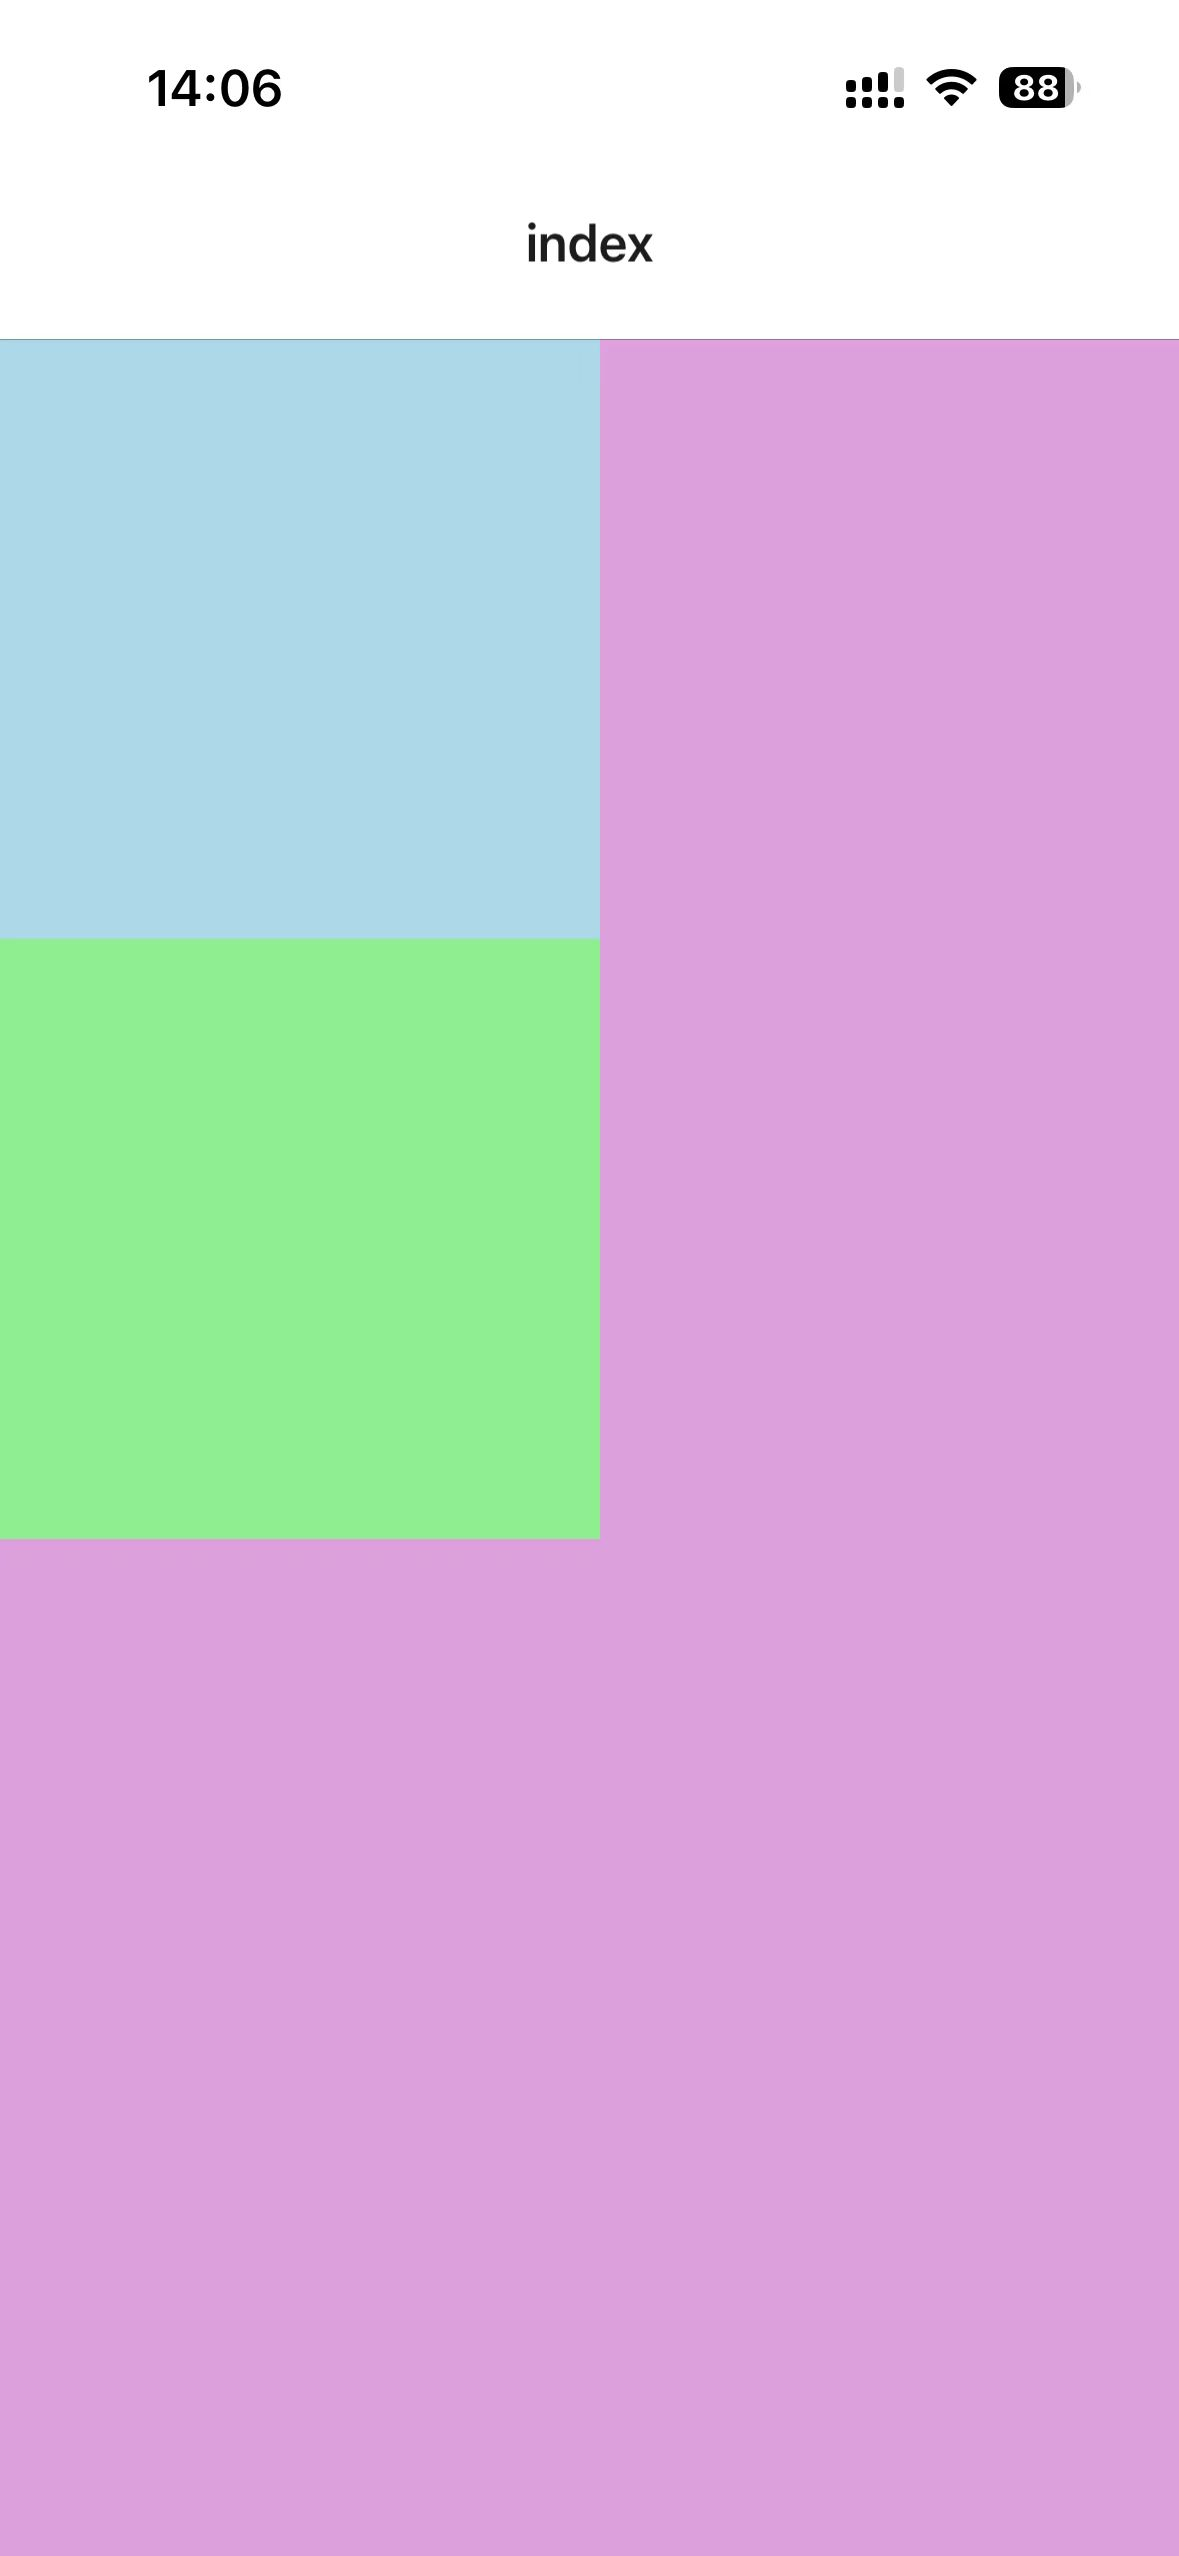
xxxxxxxxxx101// app/index.tsx23import { View } from 'react-native'45export default function Index() {6 return <View style={{ flex: 1, backgroundColor: "plum" }}>7 <View style={{ width: 200, height: 200, backgroundColor: "lightblue" }}></View>8 <View style={{ width: 200, height: 200, backgroundColor: "lightgreen" }}></View>9 </View>10}手机上的效果:
9 - Text
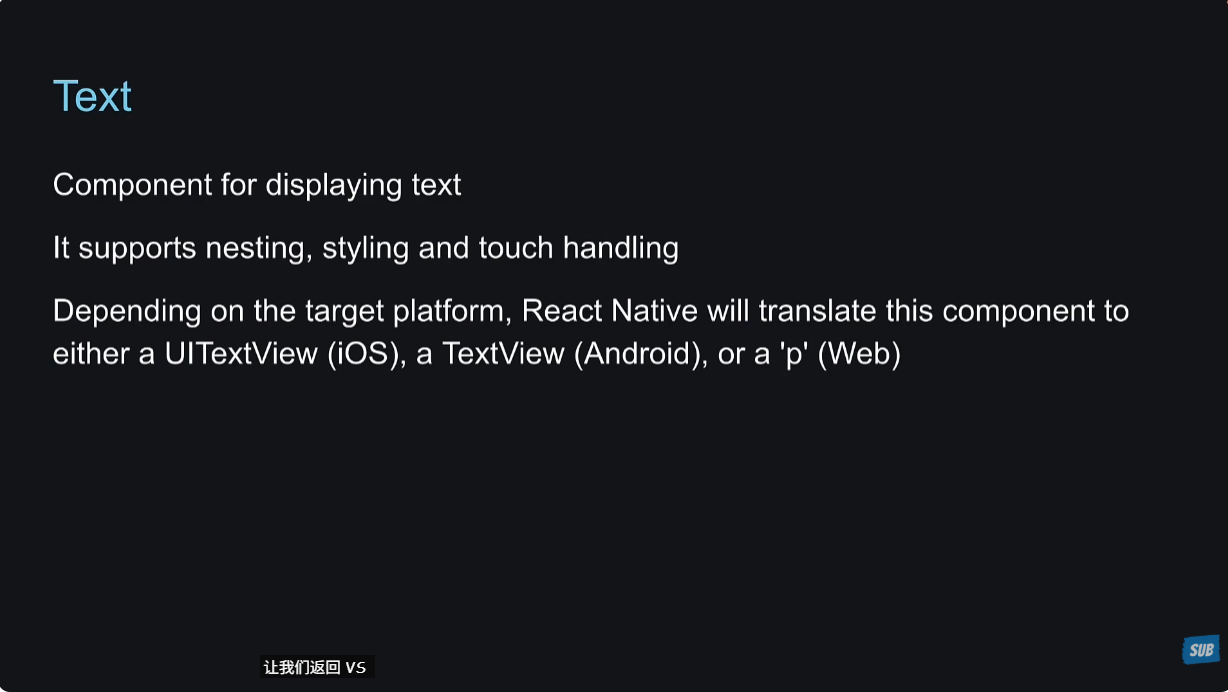
Text组件就是为了展示文本,可以嵌套使用,可以编写样式,可以处理touch事件。
在app/index.tsx里面,直接在View里面写文本,看一下效果:
xxxxxxxxxx91// app/index.tsx23import { View } from 'react-native'45export default function Index() {6 return <View style={{ flex: 1, backgroundColor: "plum" }}>7 Hello, world!8 </View>9}
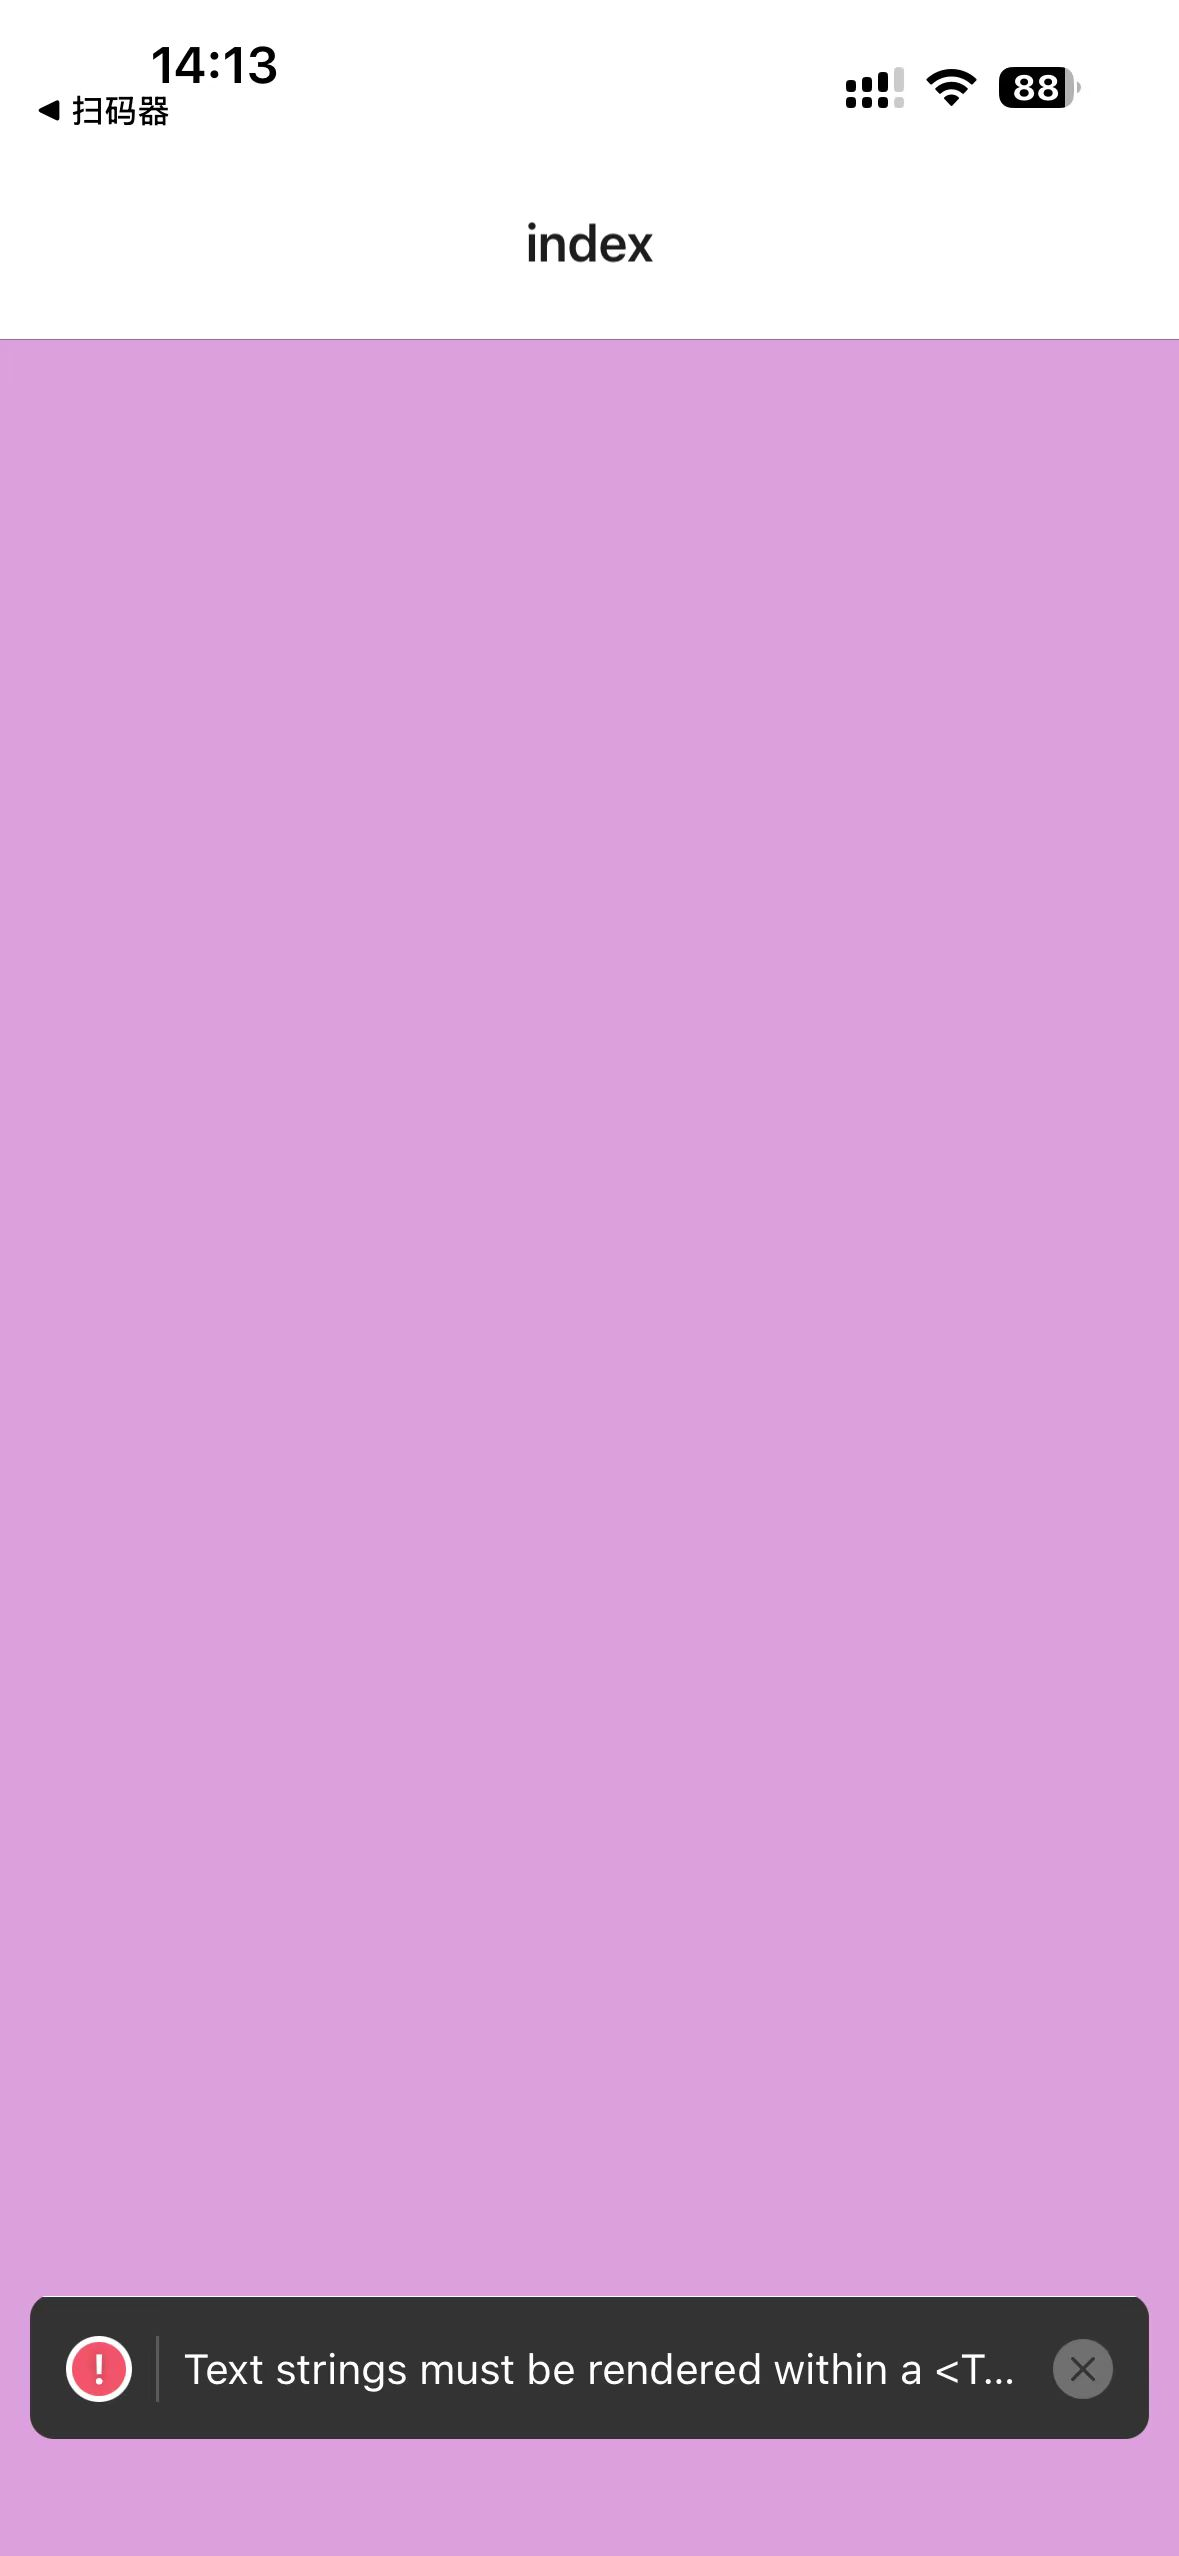
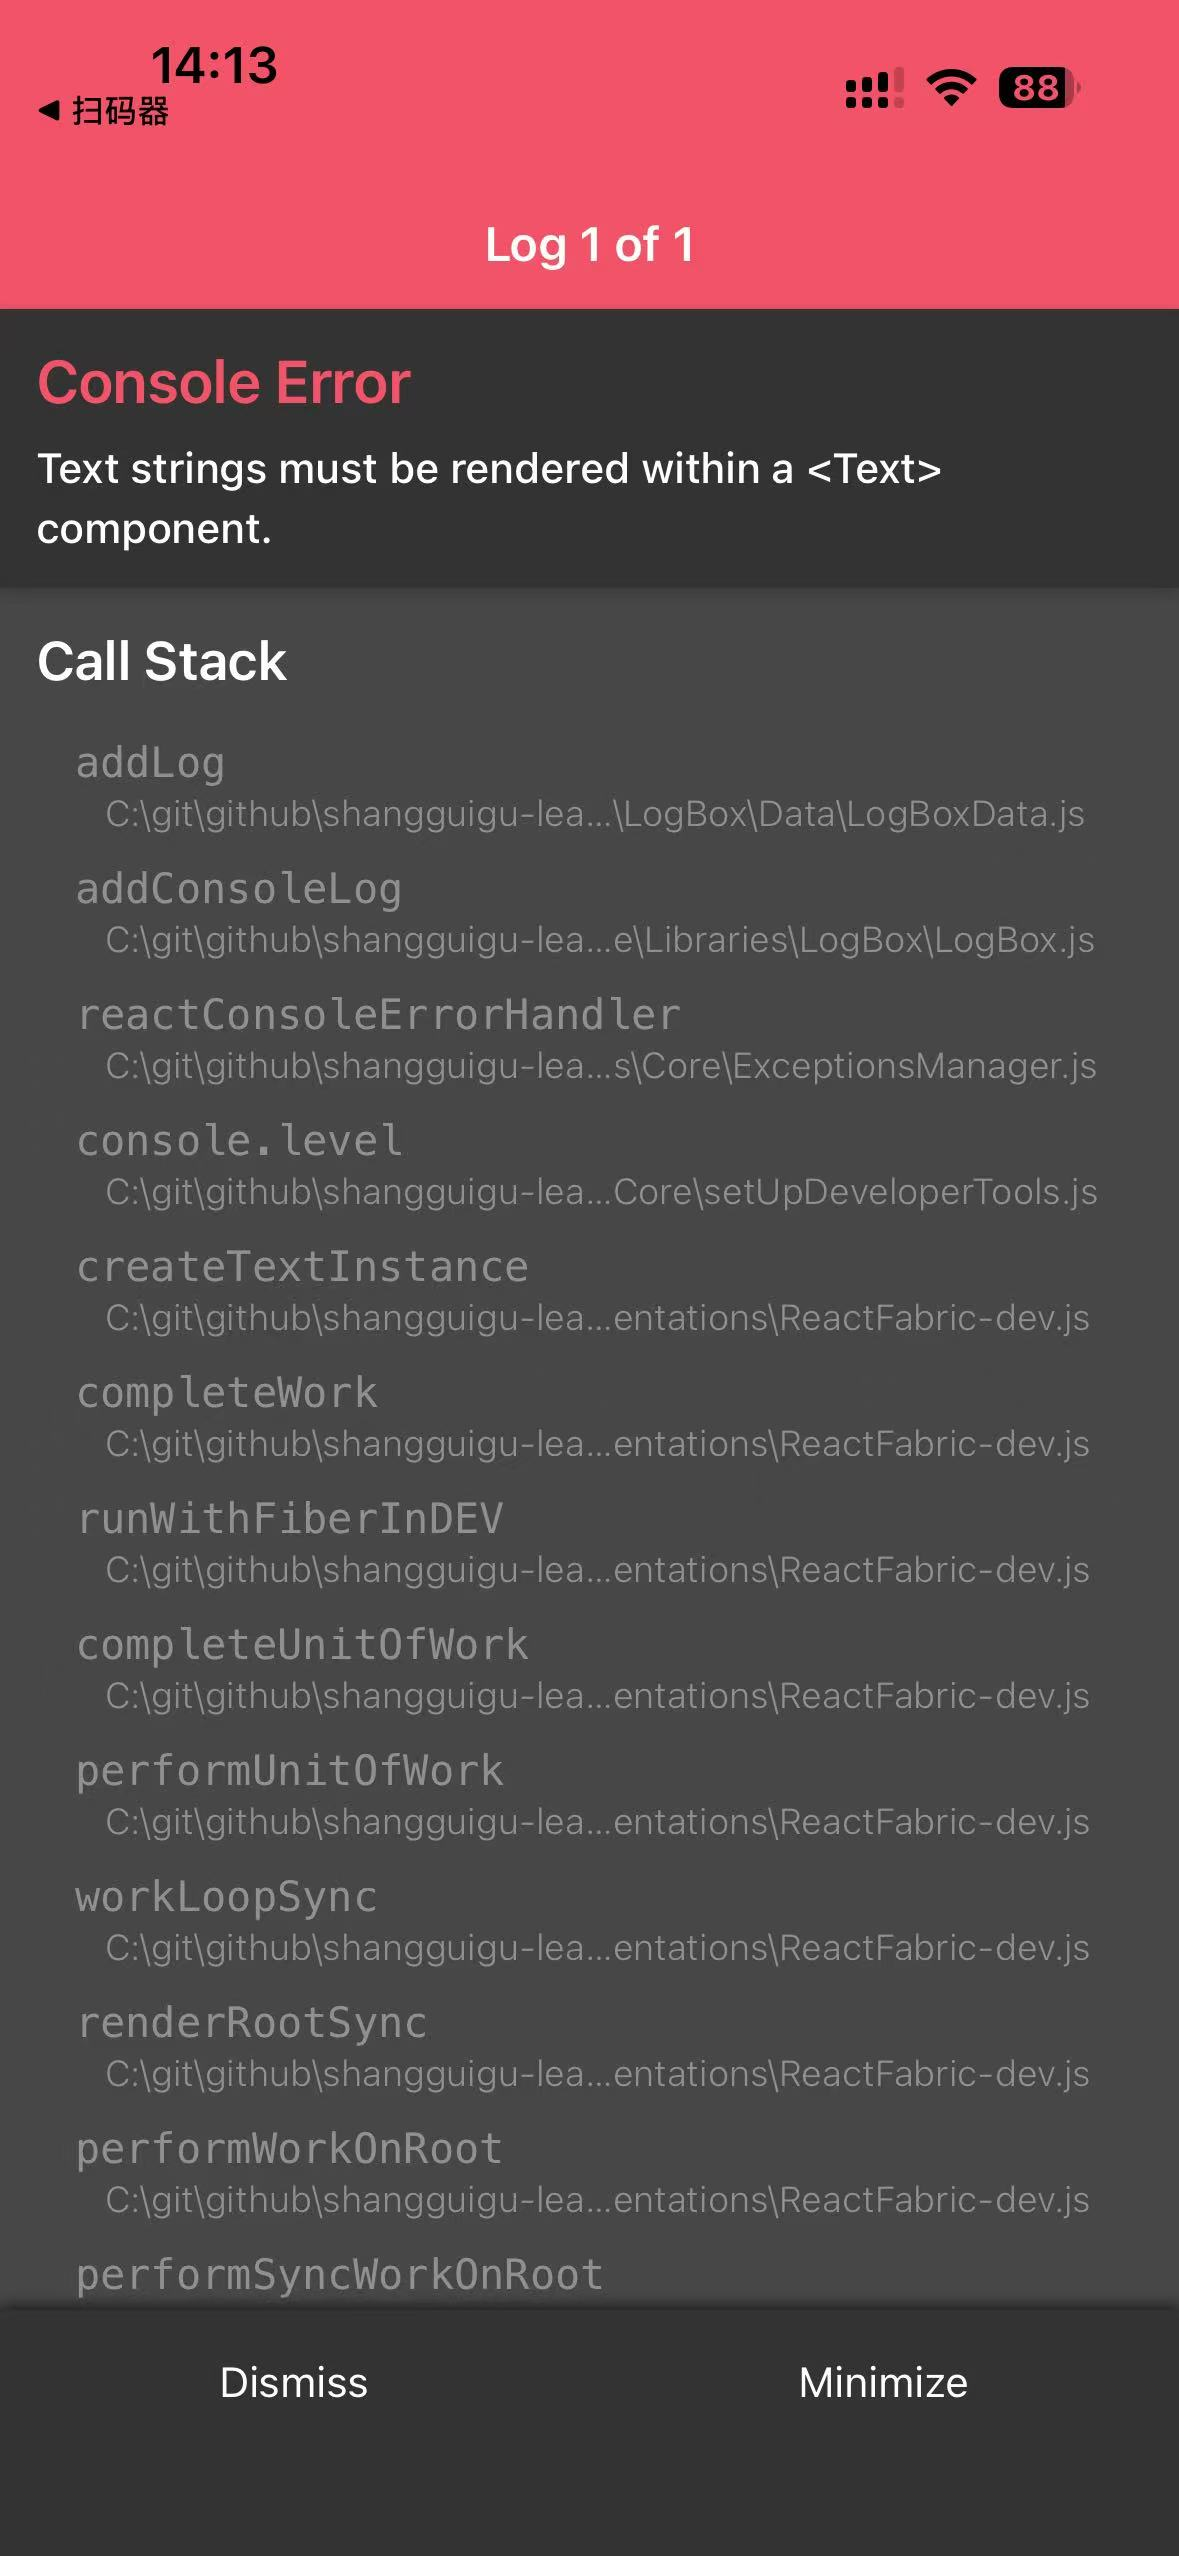
需要注意的是,web端是显示正常的,但是在手机上是会报错的,说明写的react native项目还真的需要模拟器或者手机来测试,使用web来测试有漏洞。
报错信息提示的很清楚了,在react native中,所有的文本节点都必须包裹在文本组件内,所以改成这样看一下:
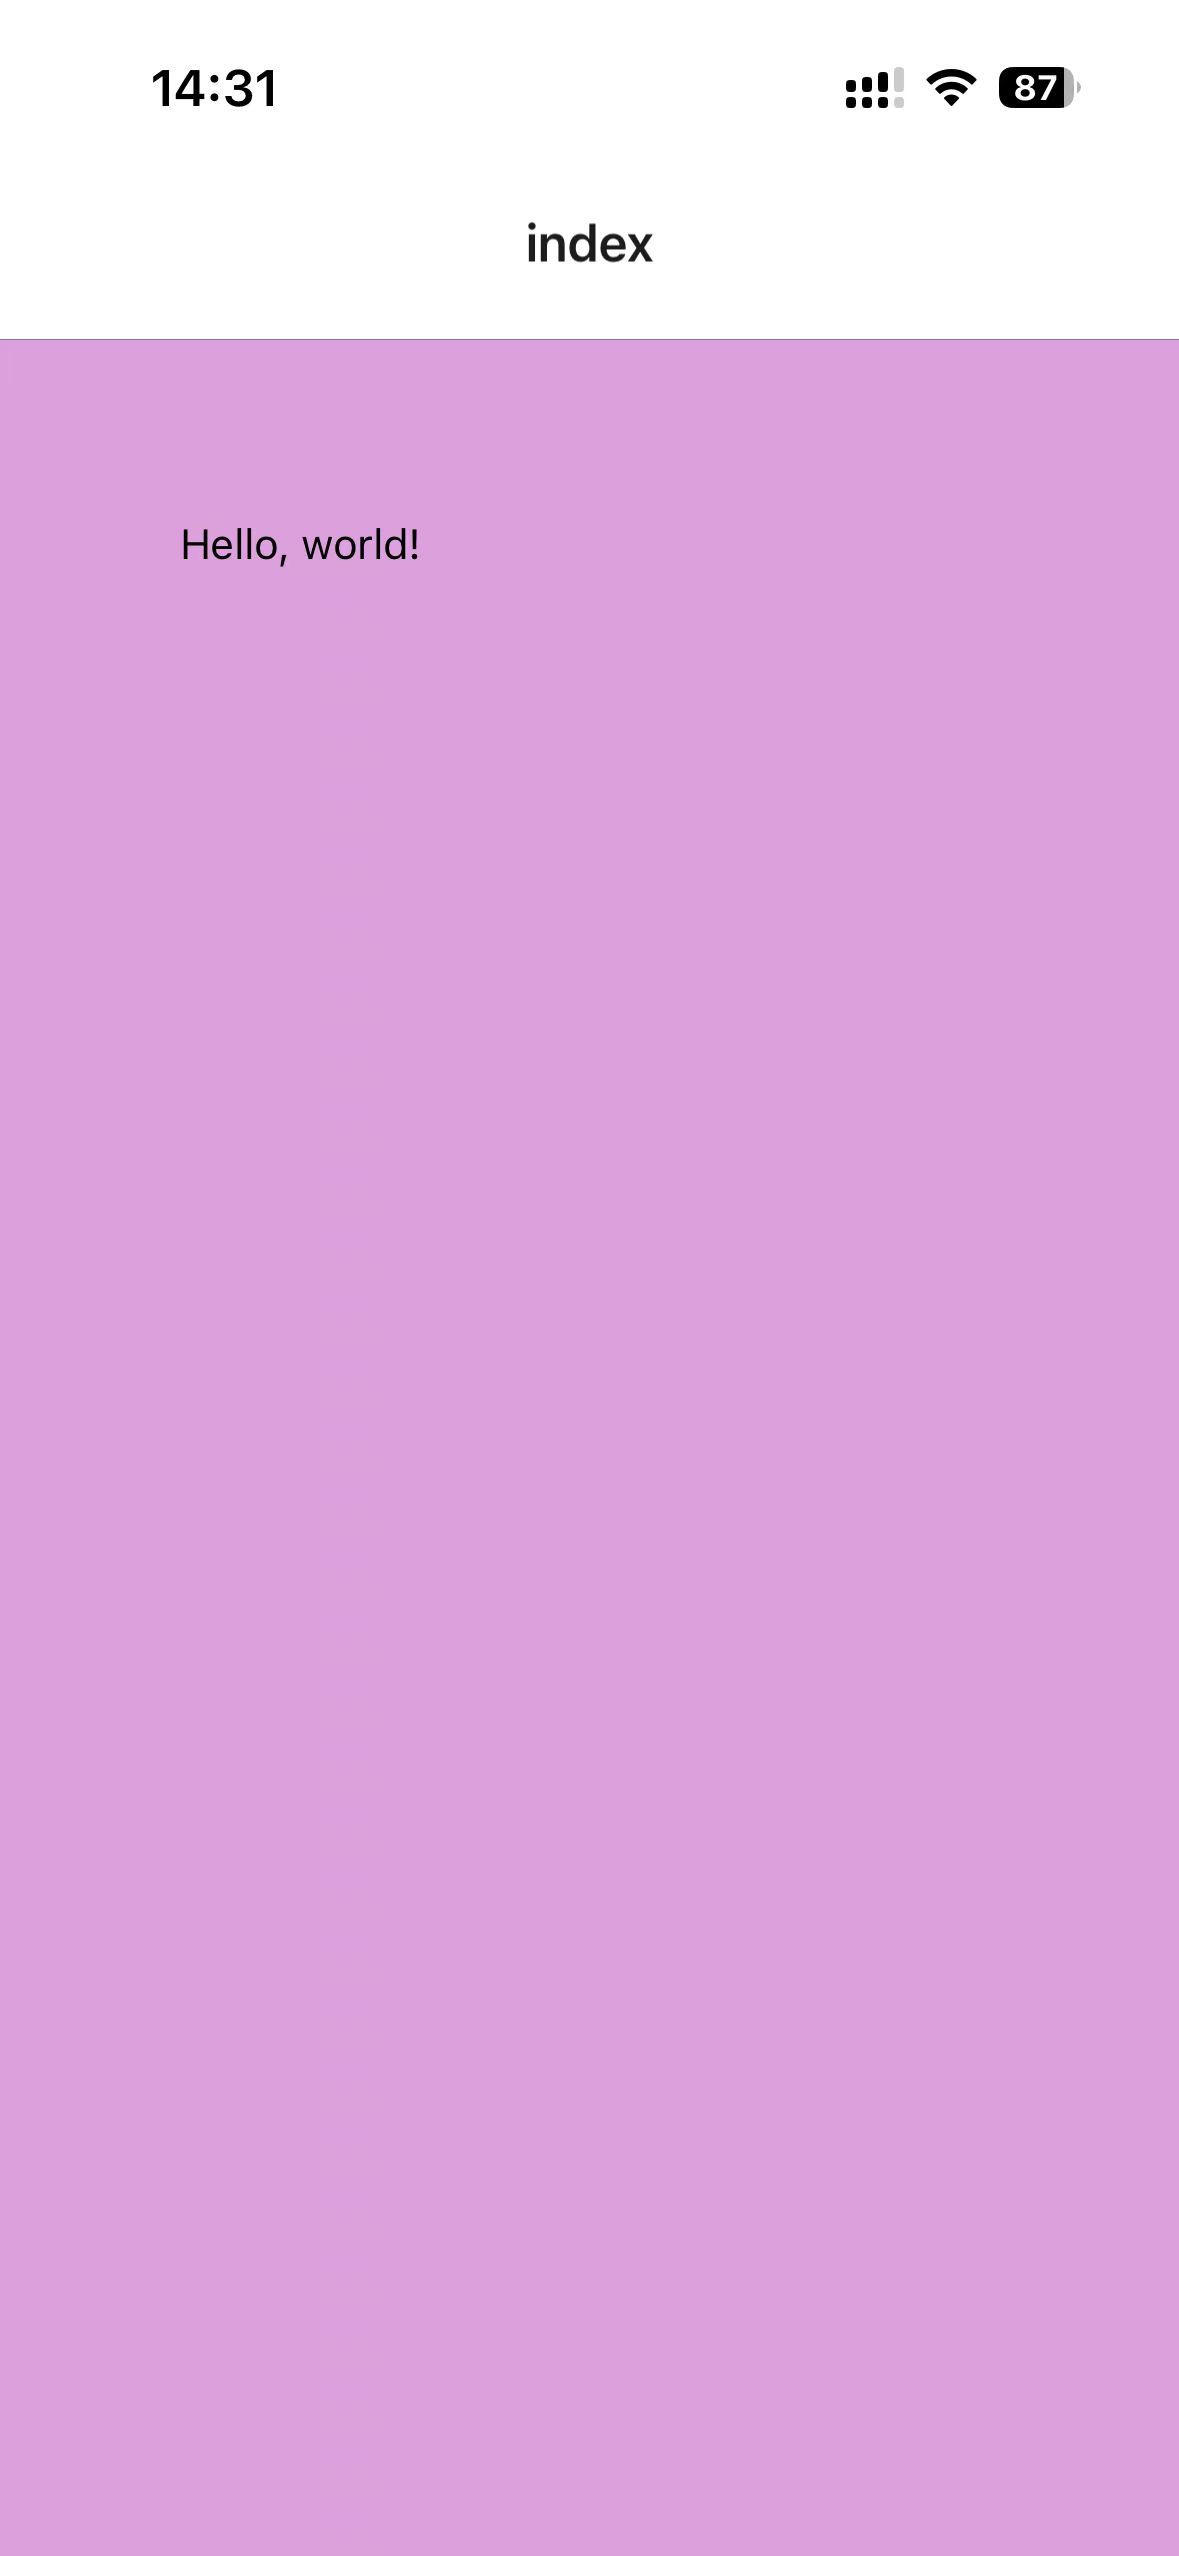
xxxxxxxxxx91// app/index.tsx23import { View, Text } from 'react-native'45export default function Index() {6 return <View style={{ flex: 1, backgroundColor: "plum", padding: 60 }}>7 <Text>Hello, world!</Text>8 </View>9}可以看到,正常显示了:
Text组件还可以嵌套自己,比如说将Hello改为白色,就这样做:
xxxxxxxxxx91// app/index.tsx23import { View, Text } from 'react-native'45export default function Index() {6 return <View style={{ flex: 1, backgroundColor: "plum", padding: 60 }}>7 <Text><Text style={{ color: "#fff" }}>Hello</Text>, world!</Text>8 </View>9}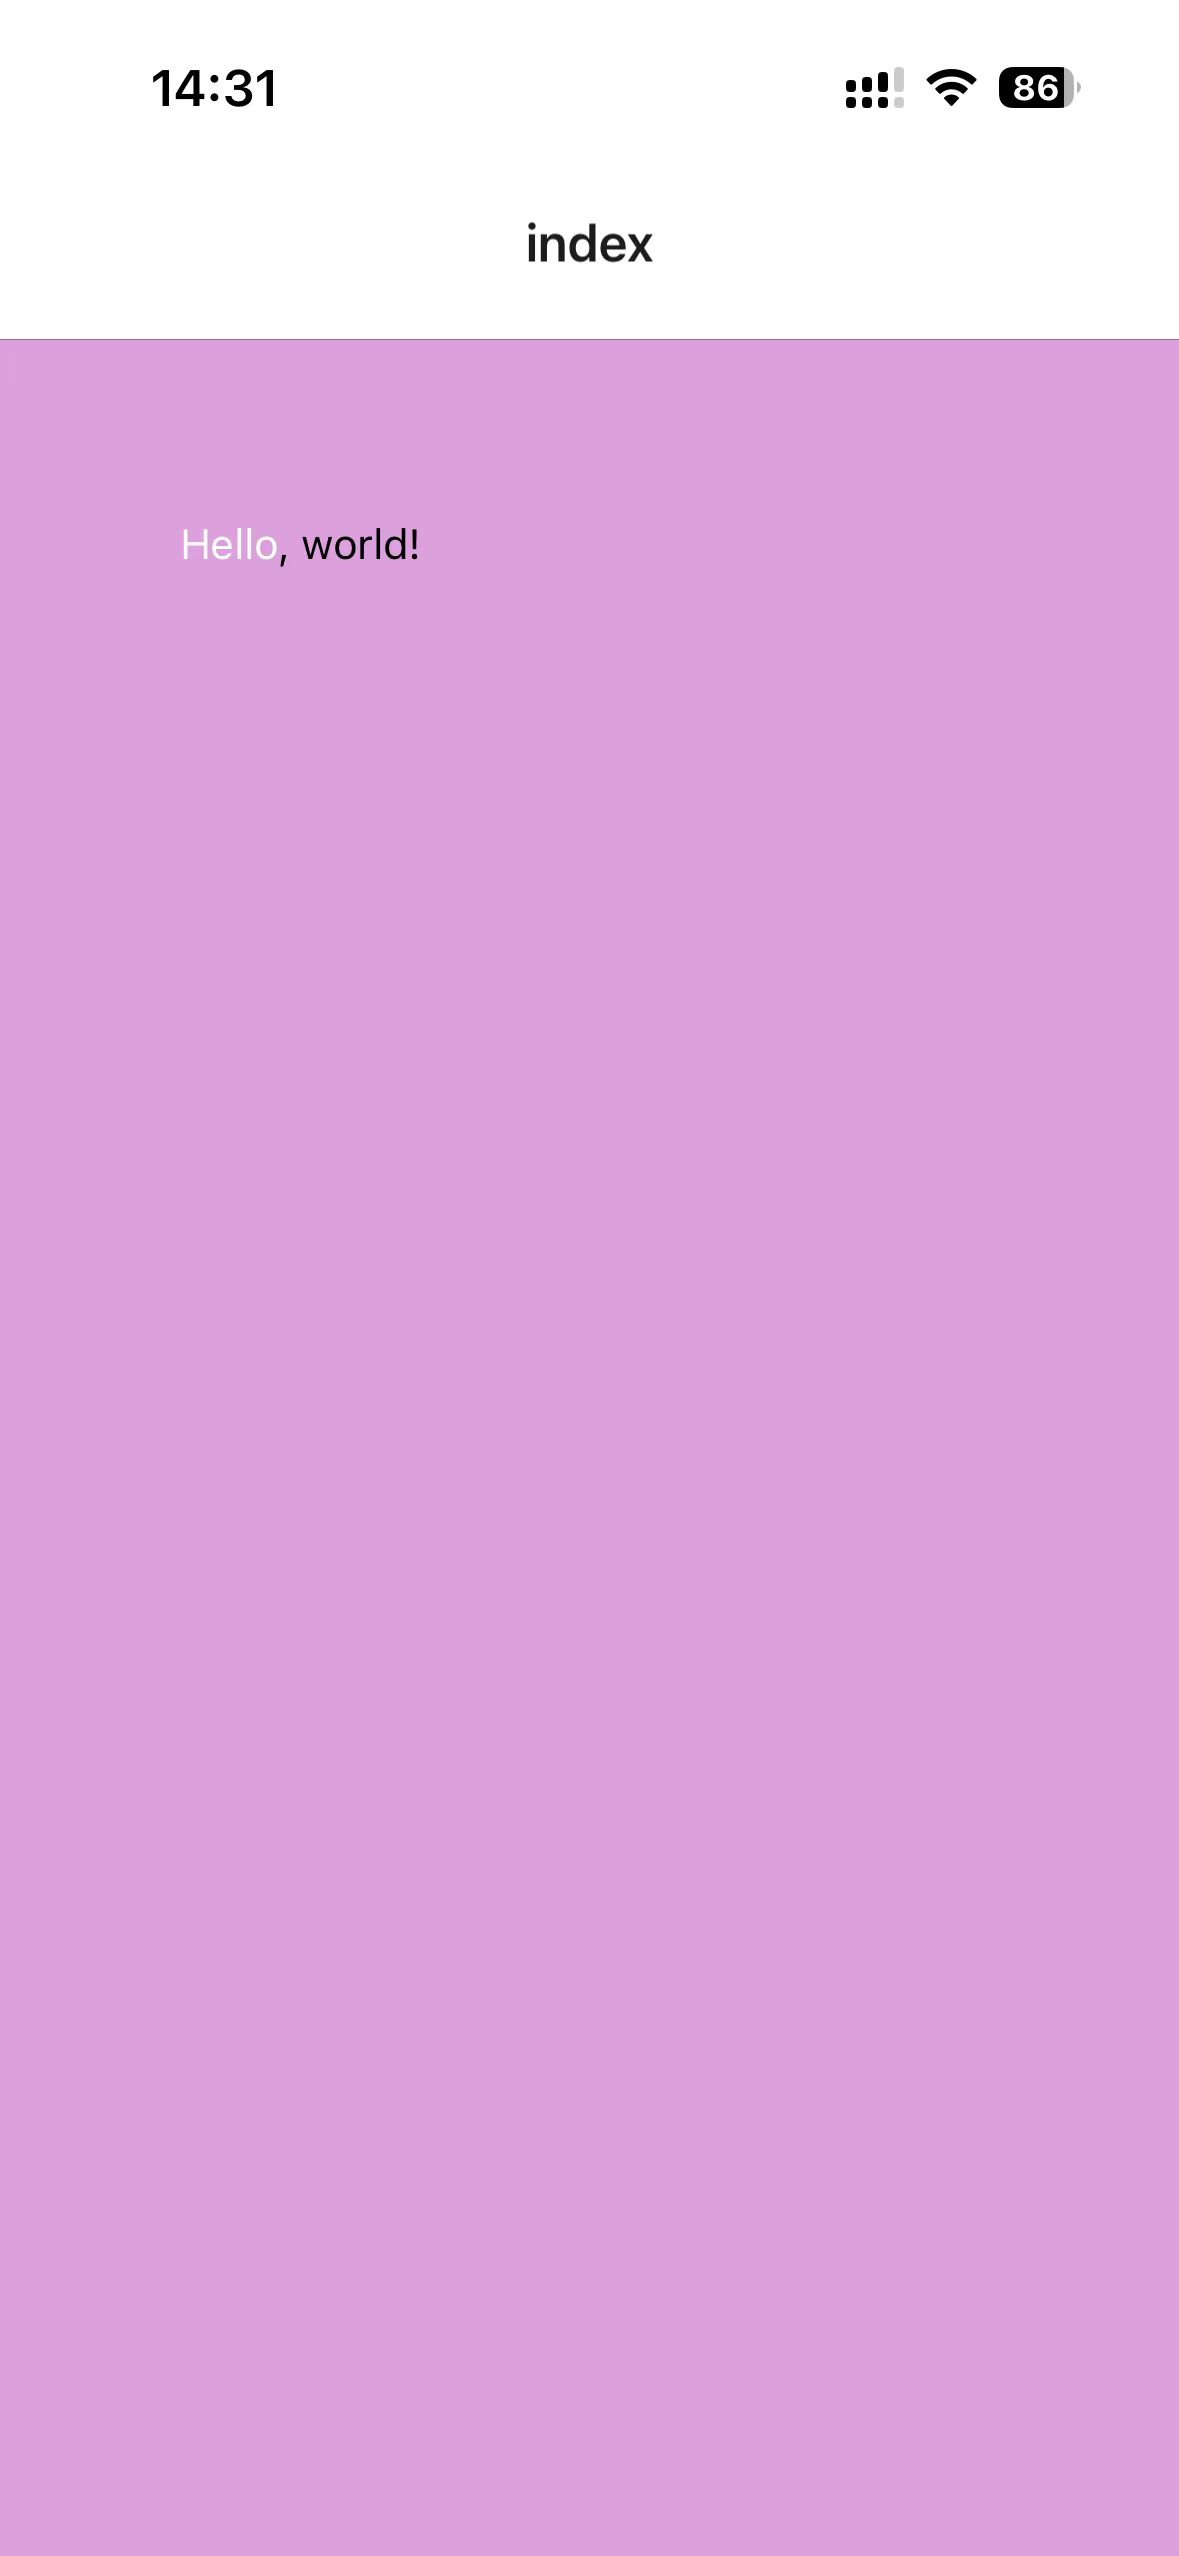
10 - Image,ImageBackground
Image
Image组件可以展示静态图片、网络图片、本地图片。使用source属性来指定图片的地址。
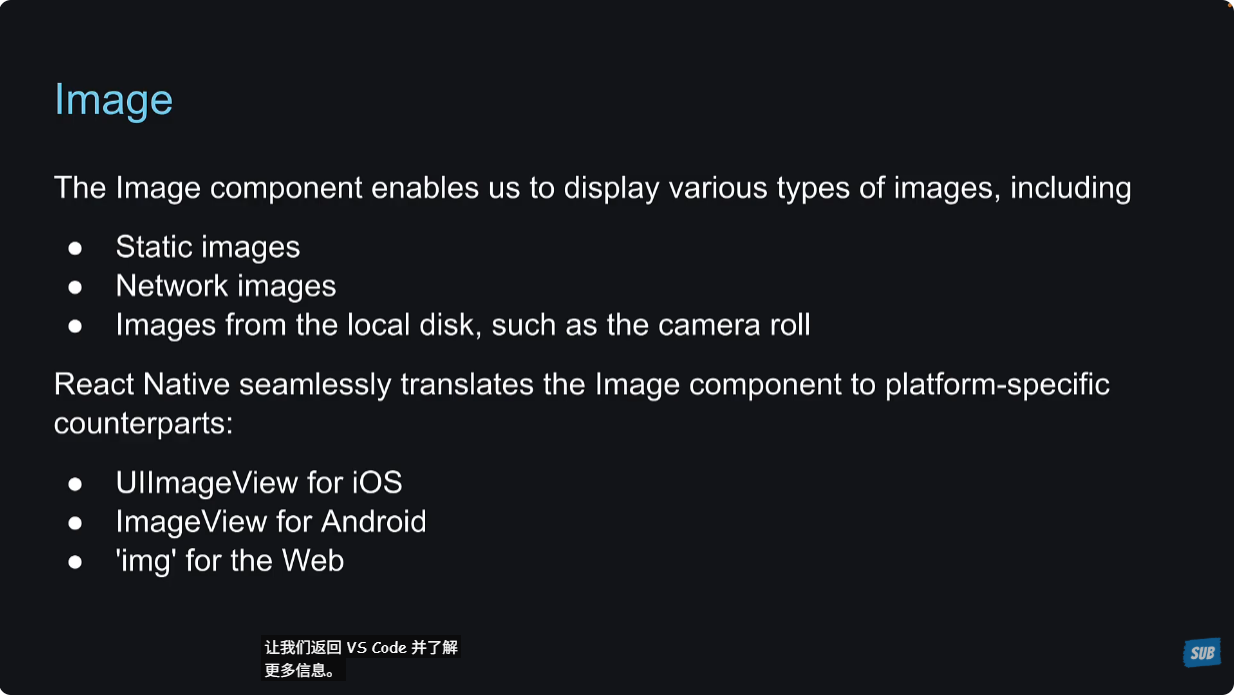
可以使用picsum.photos里面提供的网络图片地址,来当作network images。
xxxxxxxxxx141// app/index.tsx23import { View, Image } from 'react-native'4const logoImg = require("../assets/images/icon.png")56export default function Index() {7 return <View style={{ flex: 1, backgroundColor: "plum", padding: 60 }}>8 <Image source={logoImg} style={{ width: 200, height: 200 }} />9 {/* 对于网络图片,必须指定width和height。而对于本地图片,width和height不是必须的,因为react native可以从文件推测出来。 */}10 <Image source={{11 uri: "https://picsum.photos/200"12 }} style={{width: 200, height: 200}} />13 </View>14}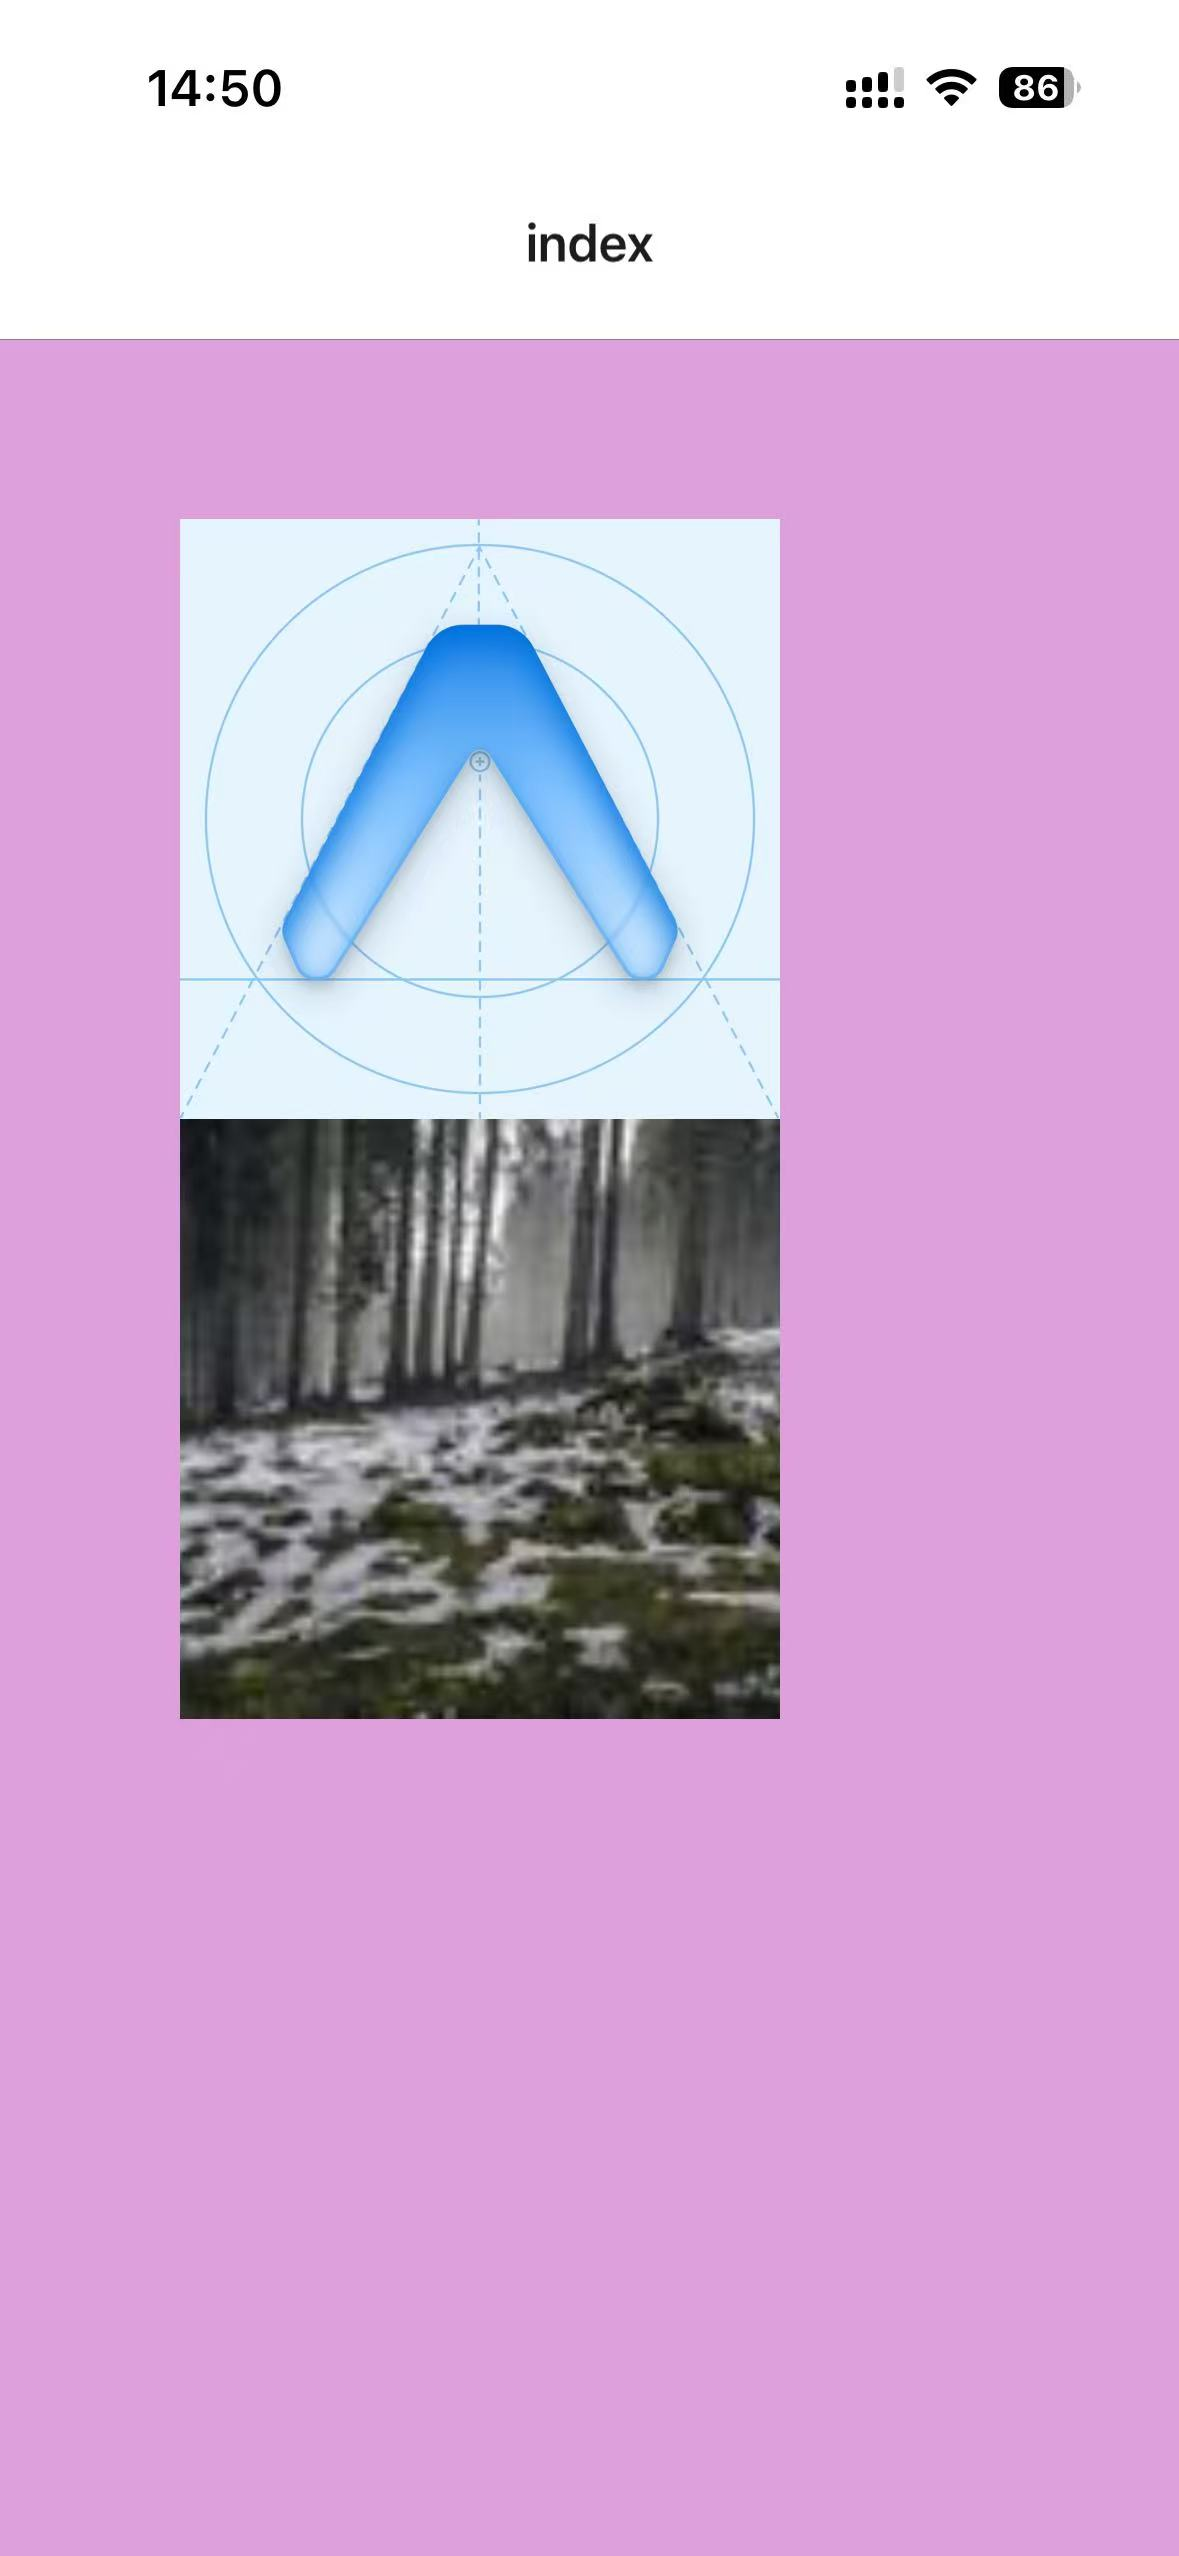
ImageBackground
ImageBackground组件,用来创建背景图片。
xxxxxxxxxx121// app/index.tsx23import { View, Text, ImageBackground } from 'react-native'4const logoImg = require("../assets/images/icon.png")56export default function Index() {7 return <View style={{ flex: 1, backgroundColor: "plum", padding: 60 }}>8 <ImageBackground source={logoImg} style={{ flex: 1 }}>9 <Text>Image Text</Text>10 </ImageBackground>11 </View>12}
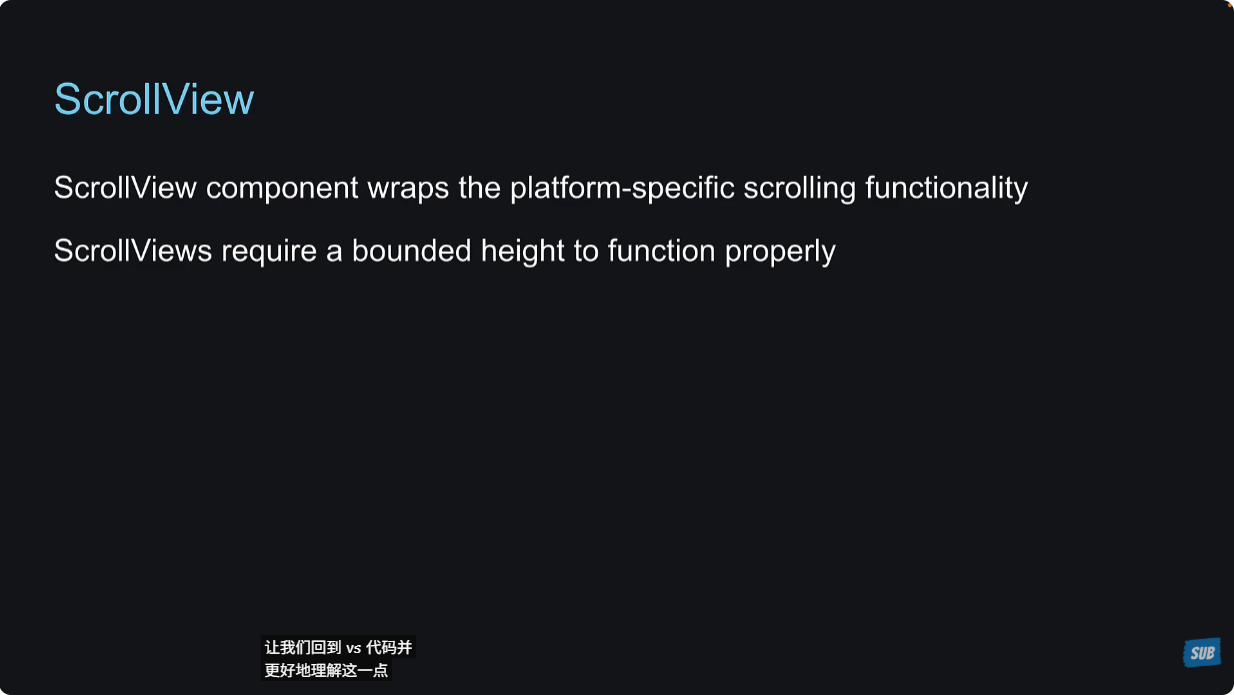
11 - Scroll View
为了说明ScrollView的作用,编写如下代码,查看效果:
xxxxxxxxxx181// app/index.tsx23import { View, Image, Text } from 'react-native'4const logoImg = require("../assets/images/icon.png")56export default function Index() {7 return <View style={{ flex: 1, backgroundColor: "plum", padding: 60 }}>8 <Image source={logoImg} style={{ width: 200, height: 200 }} />9 <Text>10 Lorem ipsum dolor sit amet consectetur adipisicing elit. Nesciunt rem molestias nulla fuga consequatur neque aperiam. Fugiat totam quidem officia magnam, dolorem eaque eos corporis possimus similique laboriosam est sequi.11 Lorem ipsum dolor sit, amet consectetur adipisicing elit. Vel sint ratione, suscipit totam illum, repellendus porro eius ut ullam mollitia iure perferendis consectetur laborum modi aliquid itaque. Consequuntur, similique. Molestias?12 Lorem ipsum dolor sit amet consectetur adipisicing elit. Quo animi sint cum aspernatur similique! Voluptatem esse, voluptatibus officiis facere et, consequuntur tempore quia dicta laborum laboriosam molestias modi dolore nam.13 Lorem ipsum dolor sit amet consectetur adipisicing elit. Iste, quas corrupti autem alias nam pariatur quidem sequi tempora cupiditate, voluptates magni ducimus mollitia. Ullam, earum! Adipisci est animi voluptates eum!14 Lorem ipsum, dolor sit amet consectetur adipisicing elit. Praesentium vitae dolore reiciendis, aspernatur numquam blanditiis alias sunt tempore incidunt odit qui obcaecati. Deserunt provident, quia pariatur possimus voluptatum voluptates ipsam.15 </Text>16 <Image source={logoImg} style={{ width: 200, height: 200 }} />17 </View>18}手机上查看效果,文字没有显示完整,并且不能滑动页面来查看第二张图片:
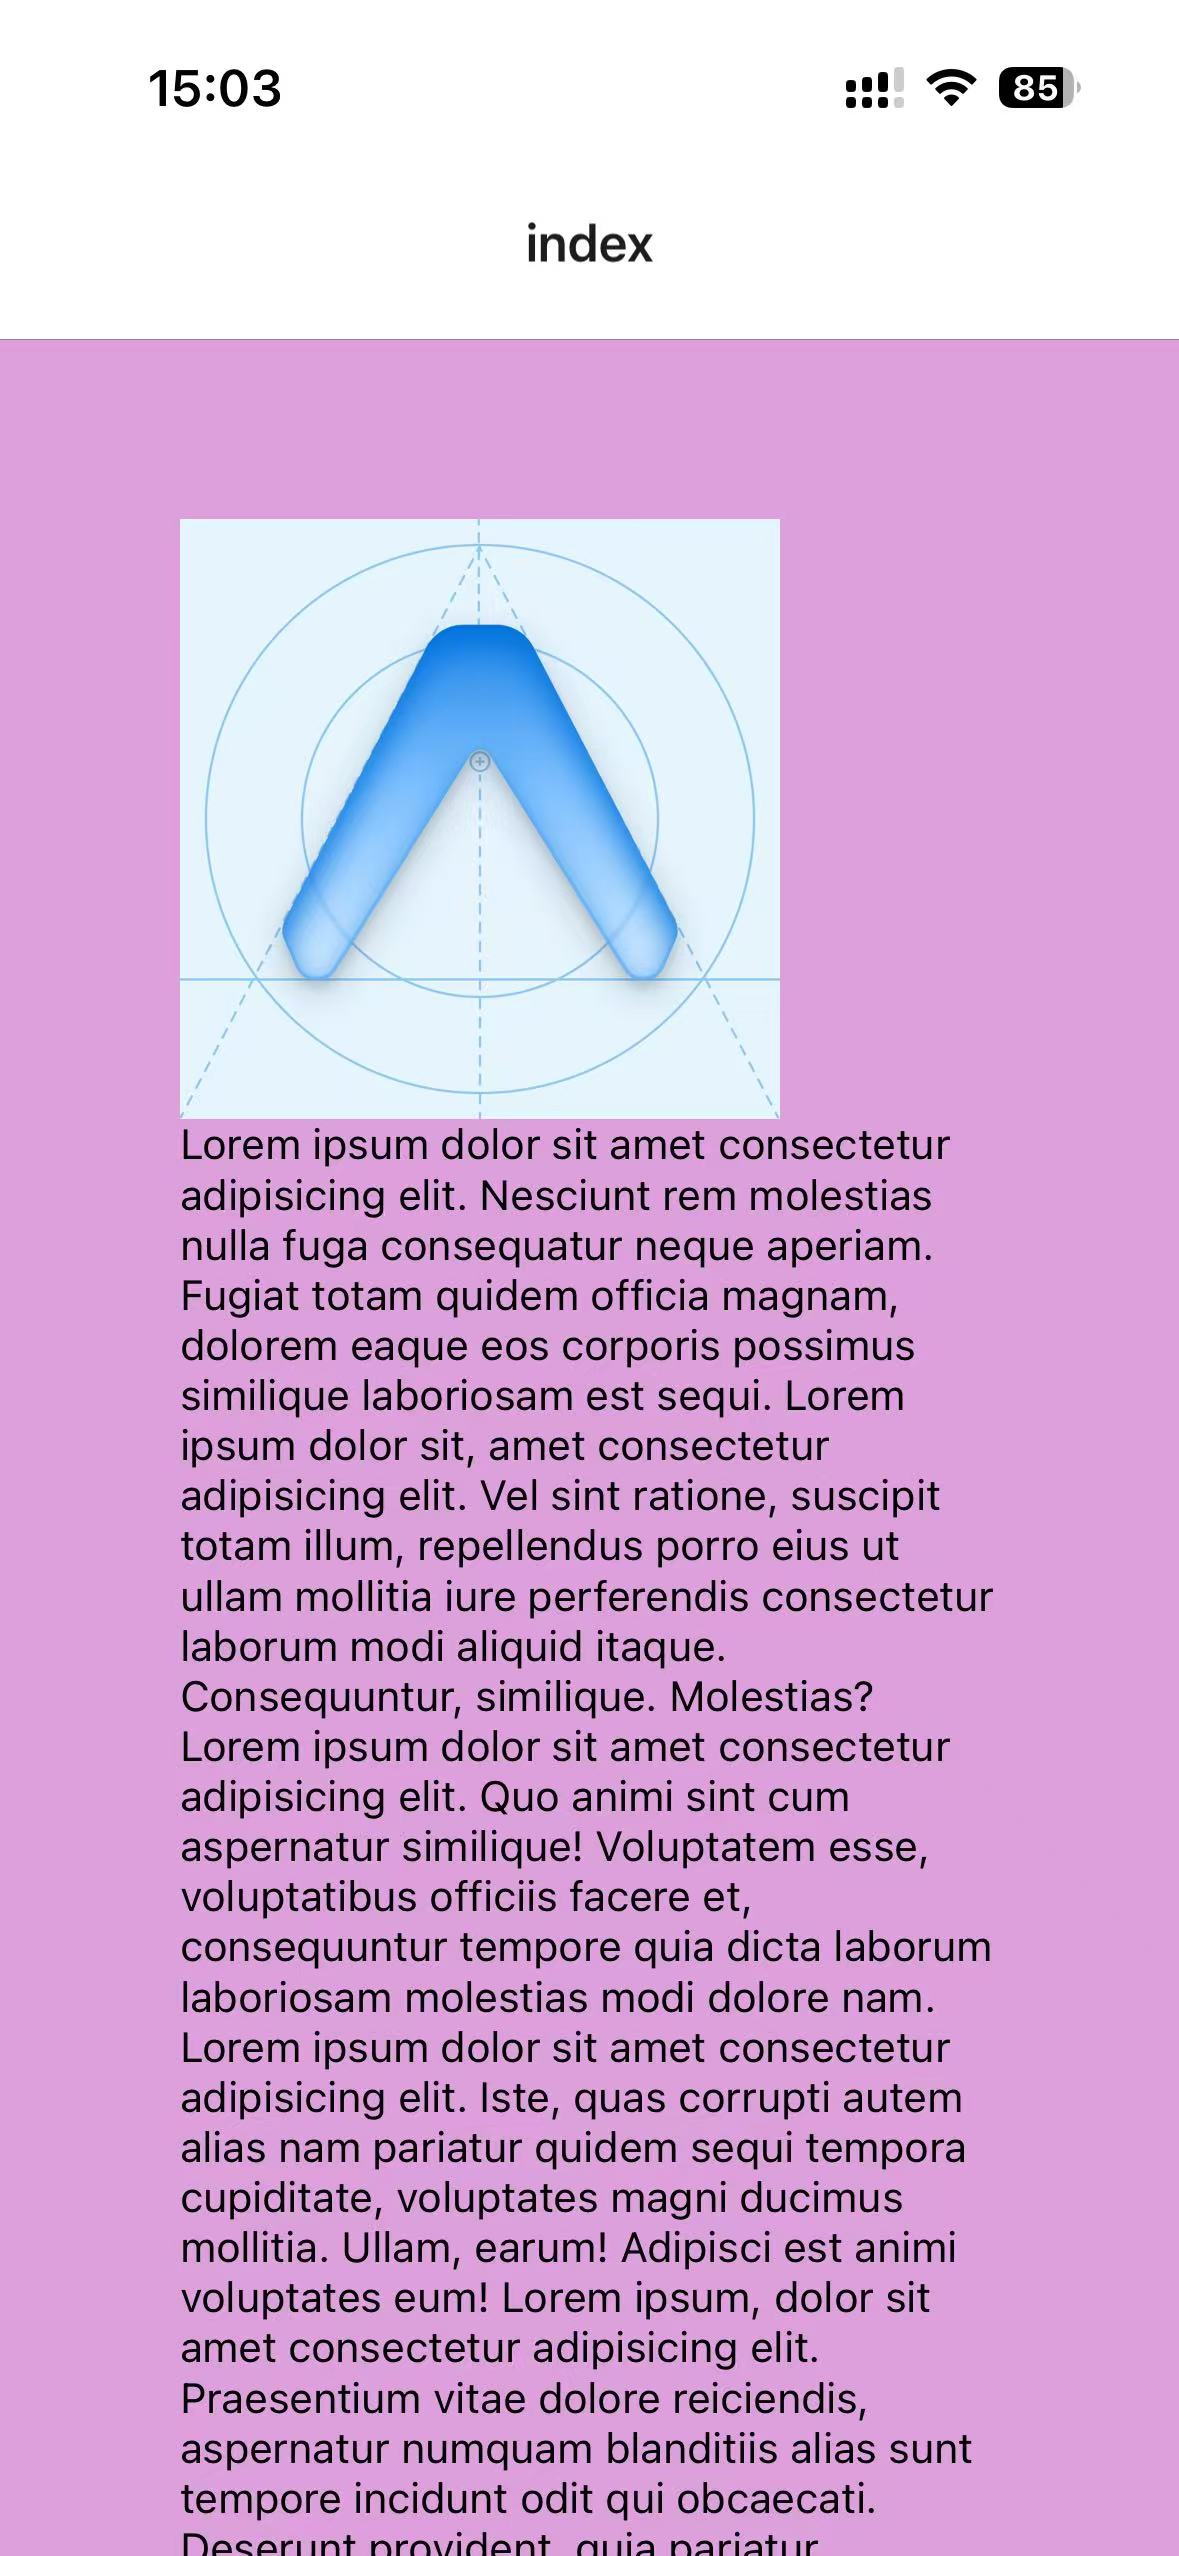
这是web开发和react native开发的一个关键区别,于是react native提供了ScrollView组件来解决滚动的问题。
将最外层的View组件改为ScrollView看一下效果:
可以看到最底下是没有padding的,可是我明明设置了padding啊,这是因为ScrollView上的padding不会像CSS那样运作(其实说不定就是ScrollView的一个bug),解决办法就是在ScrollView上面加一层View,在View上面定义padding。
xxxxxxxxxx201// app/index.tsx23import { View, ScrollView, Image, Text } from 'react-native'4const logoImg = require("../assets/images/icon.png")56export default function Index() {7 return <View style={{ flex: 1, backgroundColor: "plum", padding: 60 }}>8 <ScrollView>9 <Image source={logoImg} style={{ width: 200, height: 200 }} />10 <Text>11 Lorem ipsum dolor sit amet consectetur adipisicing elit. Nesciunt rem molestias nulla fuga consequatur neque aperiam. Fugiat totam quidem officia magnam, dolorem eaque eos corporis possimus similique laboriosam est sequi.12 Lorem ipsum dolor sit, amet consectetur adipisicing elit. Vel sint ratione, suscipit totam illum, repellendus porro eius ut ullam mollitia iure perferendis consectetur laborum modi aliquid itaque. Consequuntur, similique. Molestias?13 Lorem ipsum dolor sit amet consectetur adipisicing elit. Quo animi sint cum aspernatur similique! Voluptatem esse, voluptatibus officiis facere et, consequuntur tempore quia dicta laborum laboriosam molestias modi dolore nam.14 Lorem ipsum dolor sit amet consectetur adipisicing elit. Iste, quas corrupti autem alias nam pariatur quidem sequi tempora cupiditate, voluptates magni ducimus mollitia. Ullam, earum! Adipisci est animi voluptates eum!15 Lorem ipsum, dolor sit amet consectetur adipisicing elit. Praesentium vitae dolore reiciendis, aspernatur numquam blanditiis alias sunt tempore incidunt odit qui obcaecati. Deserunt provident, quia pariatur possimus voluptatum voluptates ipsam.16 </Text>17 <Image source={logoImg} style={{ width: 200, height: 200 }} />18 </ScrollView>19 </View>20}

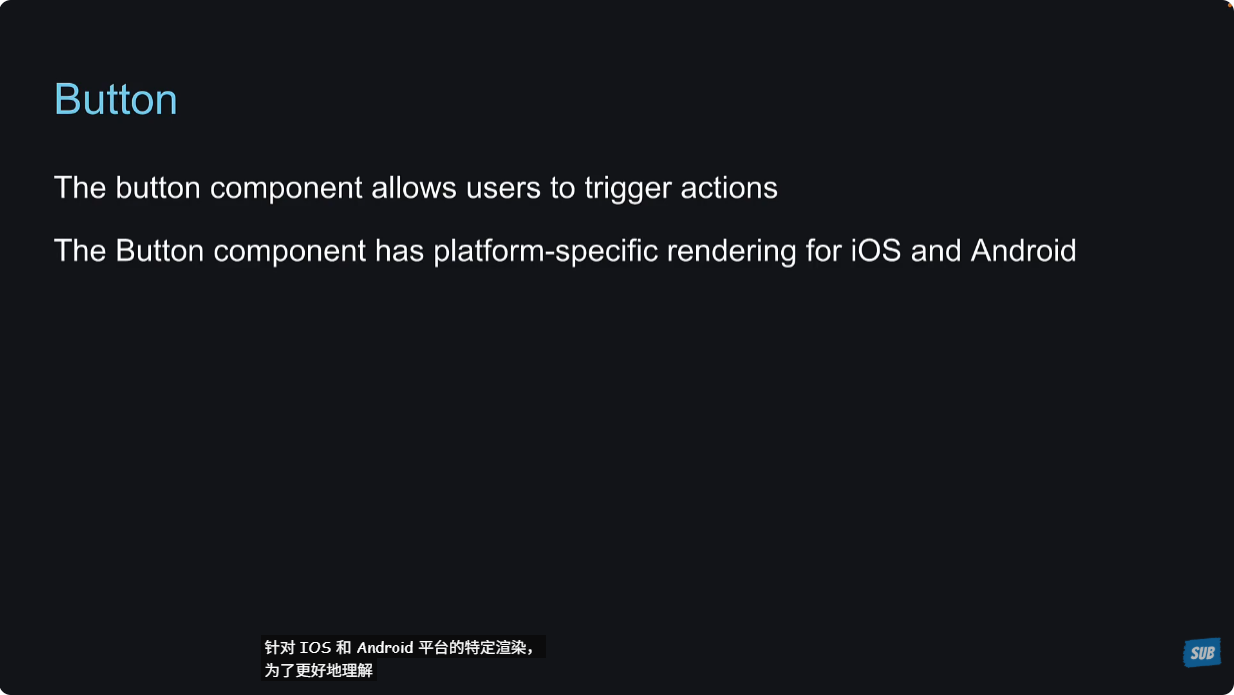
12 - Button
Button组件在ios和android上的表现不同,需要特别指定。
title属性
与web里面的Button组件相比,react native里面的Button组件是一个自闭合的标签,意味着不能以children的方式设置它的标题,而是需要通过它的title属性来指定。
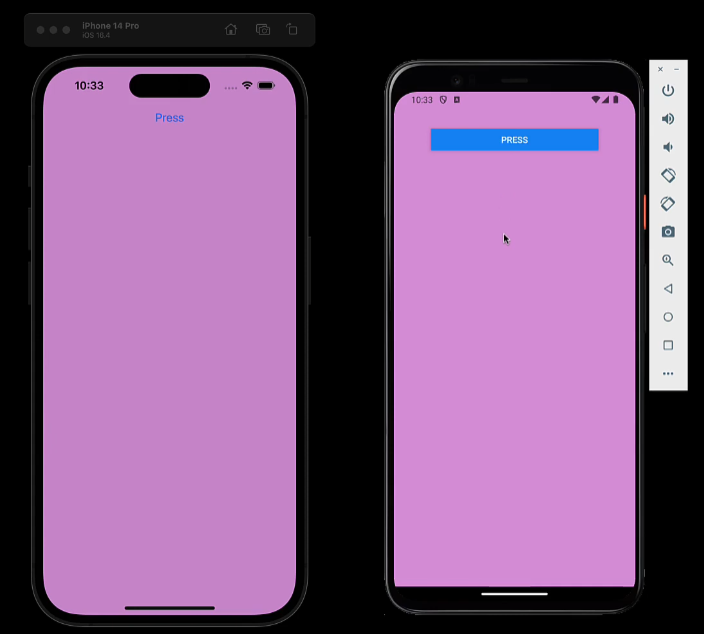
xxxxxxxxxx91// app/index.tsx23import { View, Button } from 'react-native'45export default function Index() {6 return <View style={{ flex: 1, backgroundColor: "plum", padding: 60 }}>7 <Button title='Press' />8 </View>9}可以看到,在IOS上Button是一个文字样式的,在android上是一个button样式的,我们可以设置样式来解决这个问题,但现在先不用管。
onPress属性
类似于web端的button,它有一个onClick事件。那么在react native里面的button,它的事件是onPress,不要搞混了。
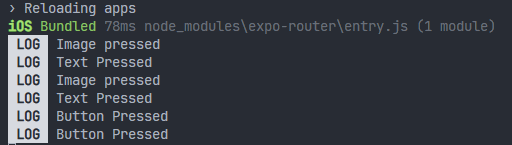
xxxxxxxxxx91// app/index.tsx23import { View, Button } from 'react-native'45export default function Index() {6 return <View style={{ flex: 1, backgroundColor: "plum", padding: 60 }}>7 <Button title='Press' onPress={() => console.log('Button Pressed')} />8 </View>9}在手机上点击按钮,可以看到terminal里面的输出:

color属性
color属性用来设置button的颜色,ios和android表现不同。
xxxxxxxxxx91// app/index.tsx23import { View, Button } from 'react-native'45export default function Index() {6 return <View style={{ flex: 1, backgroundColor: "plum", padding: 60 }}>7 <Button title='Press' onPress={() => console.log('Button Pressed')} color="white"/>8 </View>9}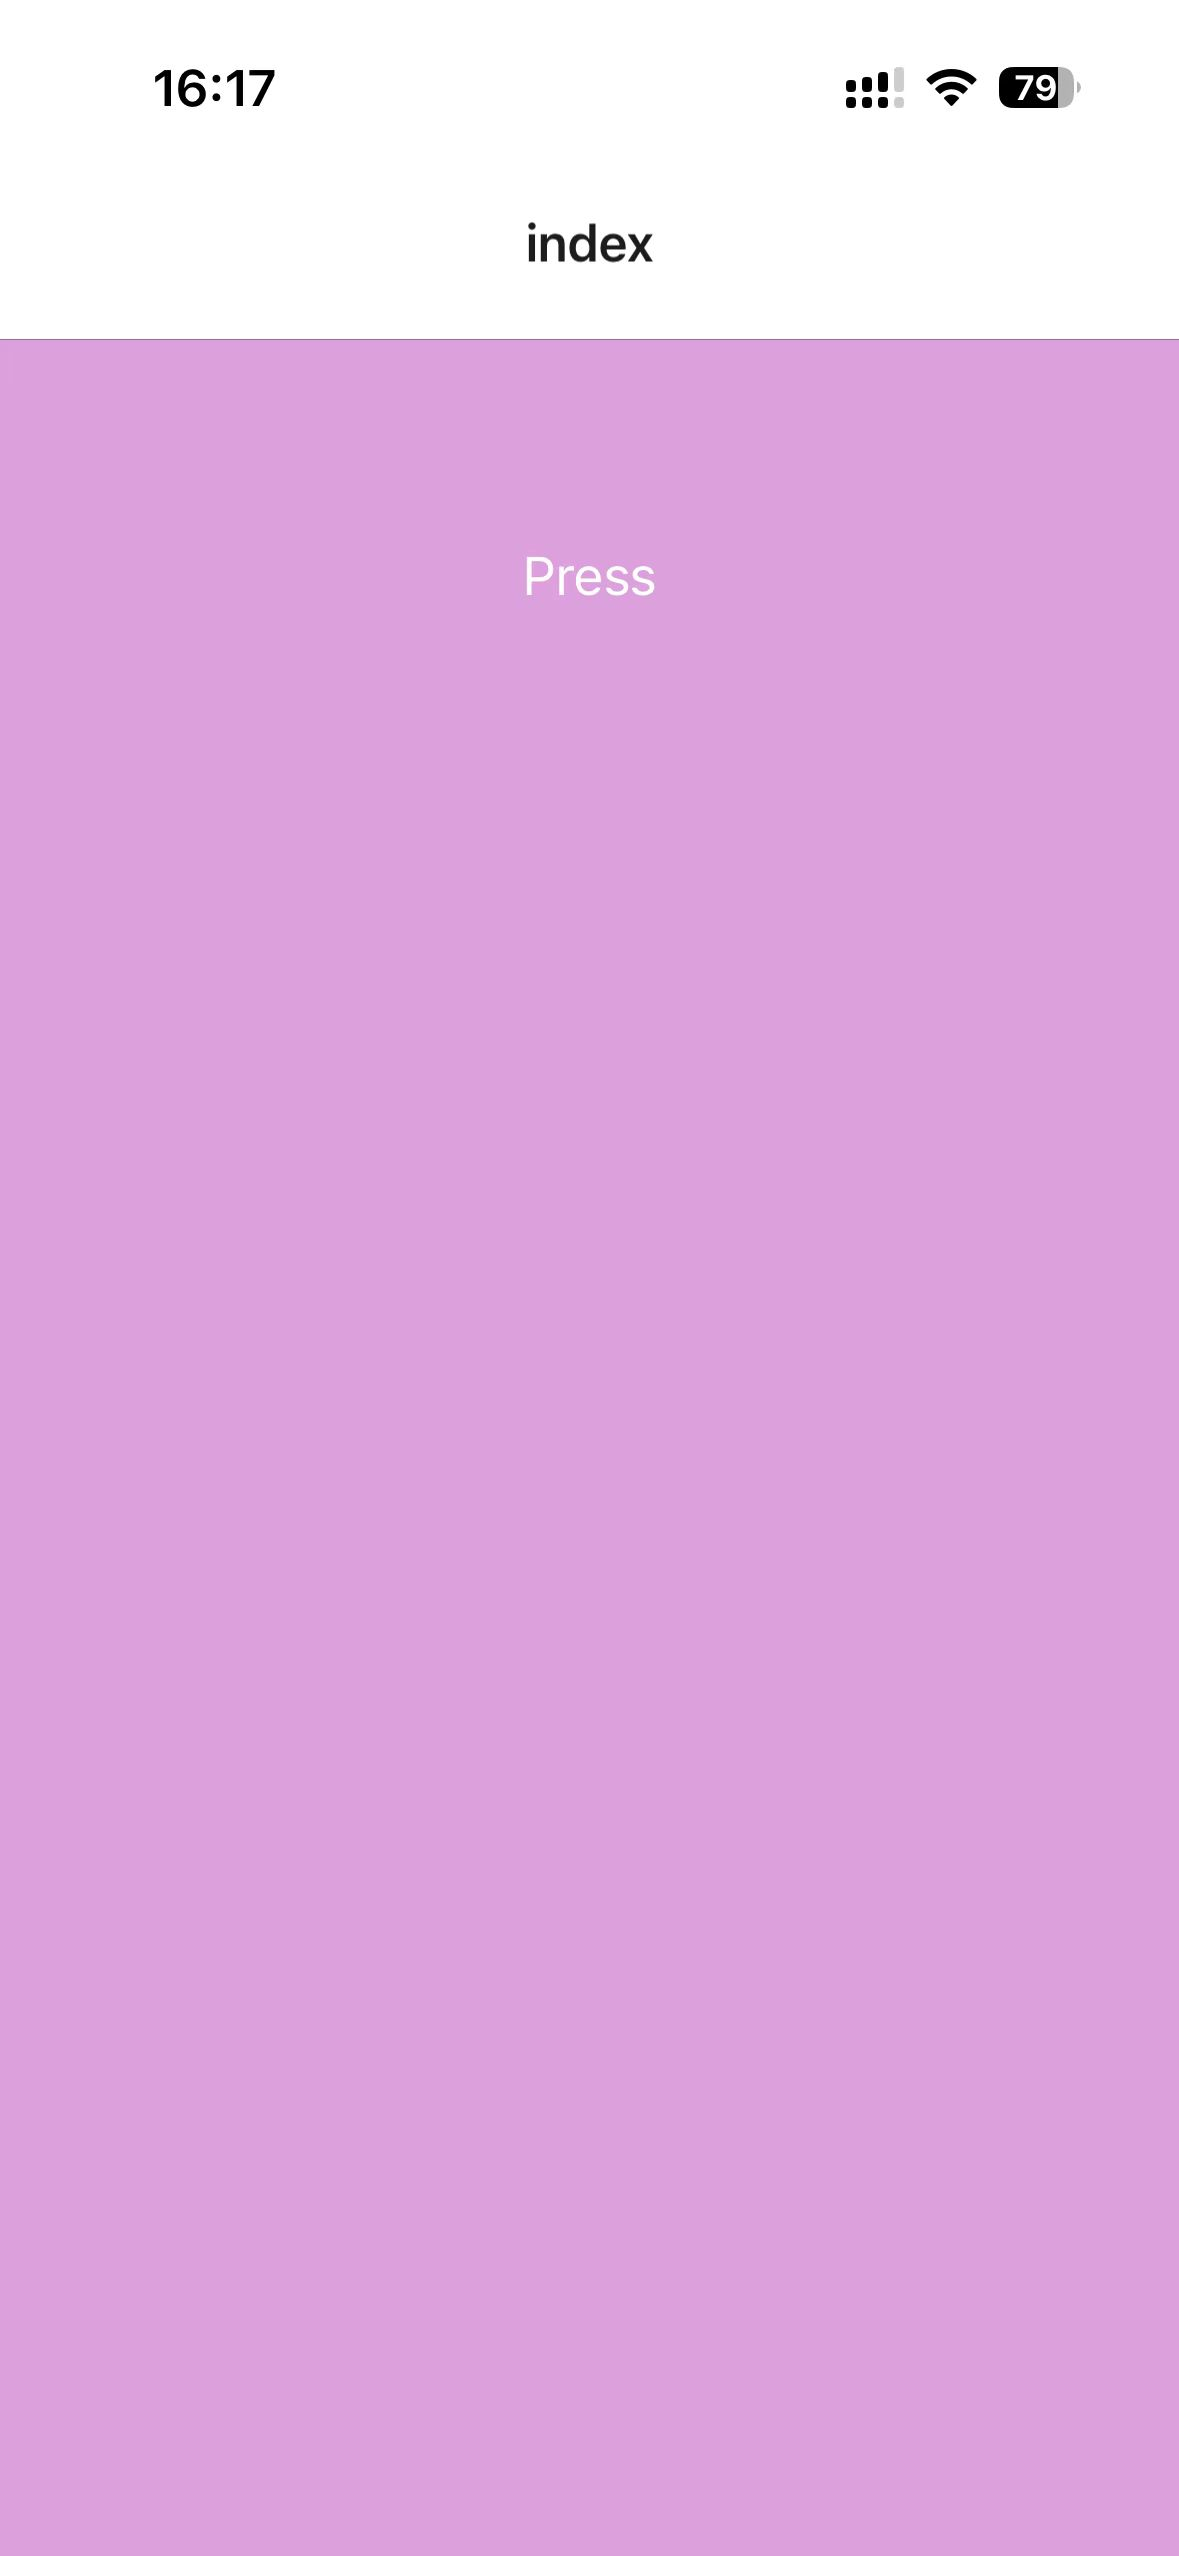
disabled属性
disabled属性用来设置按钮是否可以点击。
xxxxxxxxxx91// app/index.tsx23import { View, Button } from 'react-native'45export default function Index() {6 return <View style={{ flex: 1, backgroundColor: "plum", padding: 60 }}>7 <Button title='Press' onPress={() => console.log('Button Pressed')} color="white" disabled/>8 </View>9}
13 - Pressable
有时候我们需要在image或Text标签上触发点击事件,这时候就可以使用Pressable组件包裹住Image或者Text组件,点击Image或者文本就可以触发事件了。
Pressable使用onPress属性,来处理press事件。

xxxxxxxxxx221// app/index.tsx23import { View, Button, Image, Text, Pressable } from 'react-native'4const logoImg = require("../assets/images/icon.png")56export default function Index() {7 return <View style={{ flex: 1, backgroundColor: "plum", padding: 60 }}>8 <Button title='Press' onPress={() => console.log('Button Pressed')} color="white" />910 <Pressable onPress={() => console.log("Image pressed")}>11 <Image source={logoImg} style={{ width: 200, height: 200 }} />12 </Pressable>13 14 <Pressable onPress={() => console.log("Text Pressed")}>15 <Text>16 Lorem ipsum dolor sit amet consectetur adipisicing elit. Nesciunt rem molestias nulla fuga consequatur neque aperiam. Fugiat totam quidem officia magnam, dolorem eaque eos corporis possimus similique laboriosam est sequi.17 Lorem ipsum dolor sit, amet consectetur adipisicing elit. Vel sint ratione, suscipit totam illum, repellendus porro eius ut ullam mollitia iure perferendis consectetur laborum modi aliquid itaque. Consequuntur, similique. Molestias?18 Lorem ipsum dolor sit amet consectetur adipisicing elit. Quo animi sint cum aspernatur similique! Voluptatem esse, voluptatibus officiis facere et, consequuntur tempore quia dicta laborum laboriosam molestias modi dolore nam.19 </Text>20 </Pressable>21 </View>22}在手机上按Image、Text会触发相应的事件。
那么就可以使用Pressable来创建一个自定义的button,这样就可以解决Button组件在ios和android上显示不同的问题了。
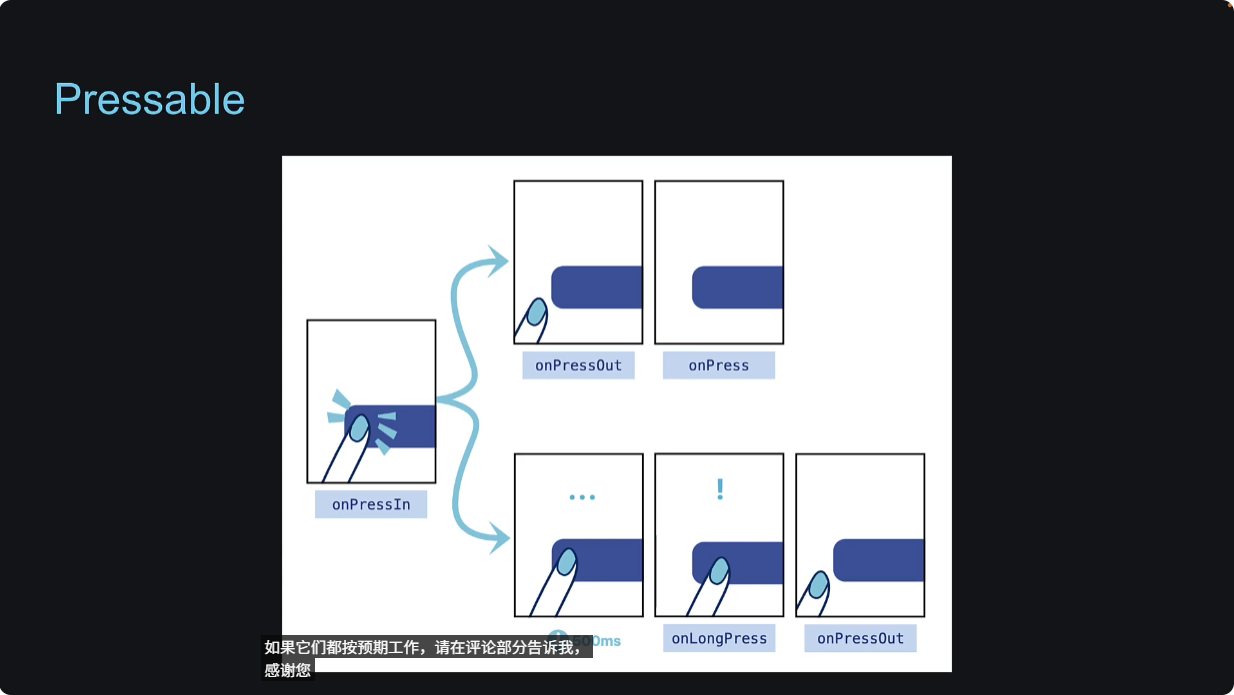
Pressable还提供多个事件属性,可以用来监听不同的操作。
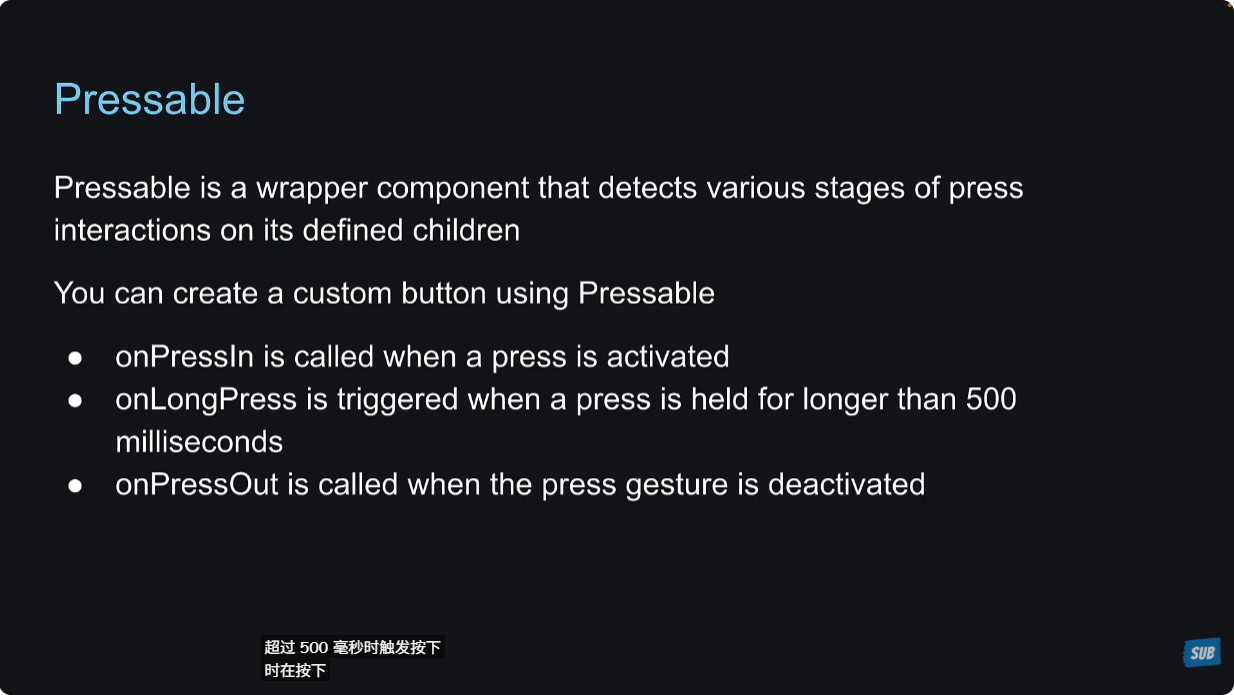
下面是图示:
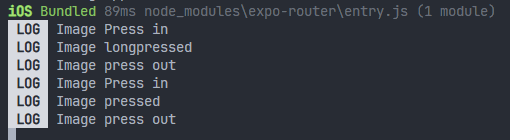
课后习题:设置各种事件,看一下触发的时机。
xxxxxxxxxx141// app/index.tsx23import { View, Button, Image, Text, Pressable } from 'react-native'4const logoImg = require("../assets/images/icon.png")56export default function Index() {7 return <View style={{ flex: 1, backgroundColor: "plum", padding: 60 }}>8 <Button title='Press' onPress={() => console.log('Button Pressed')} color="white" />910 <Pressable onPress={() => console.log("Image pressed")} onLongPress={() => console.log("Image longpressed")} onPressIn={() => console.log("Image Press in")} onPressOut={() => console.log("Image press out")}>11 <Image source={logoImg} style={{ width: 200, height: 200 }} />12 </Pressable>13 </View>14}可以看到,longpressed触发时,是不会触发press事件的。
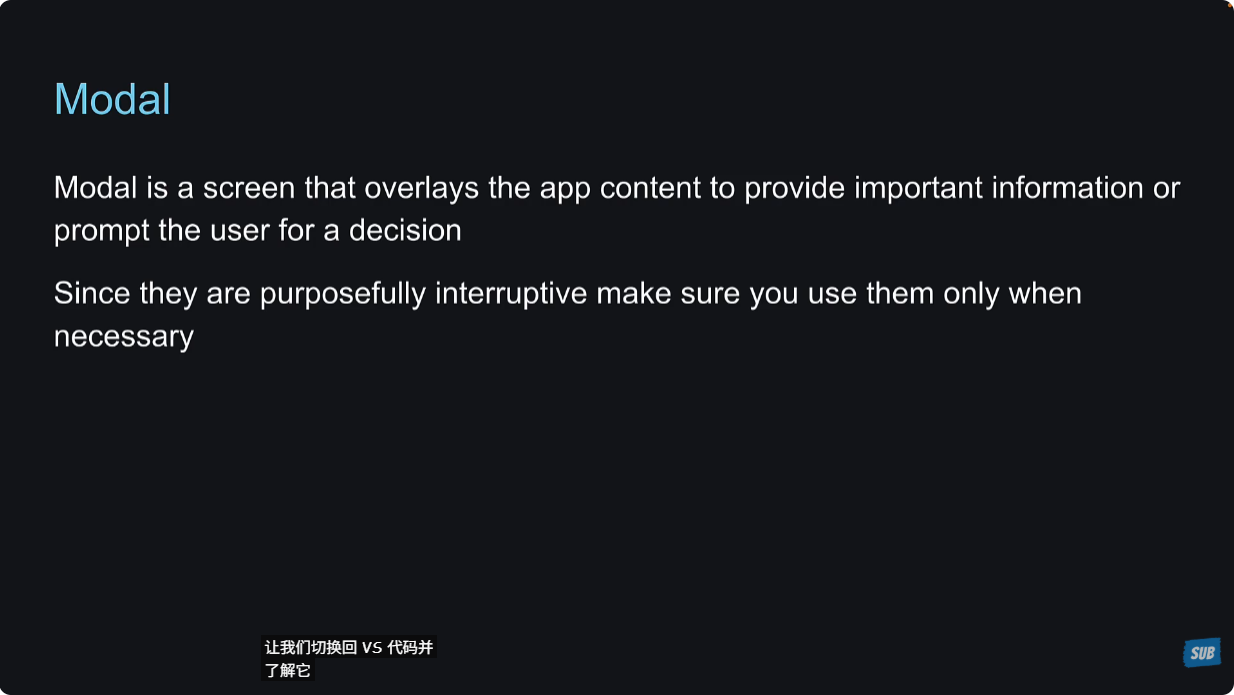
14 - Modal
Modal组件会显示在app内容的上面,提供重要信息或者给与用户决策。
visible属性
Modal的visible属性用来设置Modal是否可见,onRequestClose是设置用户在点击返回按钮时触发的事件(在android是通过底部的返回键来触发的,在ios里面是通过home键或者从bottom向上滑动来触发的)。
xxxxxxxxxx181// app/index.tsx23import { useState } from 'react'4import { View, Button, Modal, Text } from 'react-native'56export default function Index() {7 const [isModalVisible, setIsModalVisible] = useState(false);89 return <View style={{ flex: 1, backgroundColor: "plum", padding: 60 }}>10 <Button title='Press' onPress={() => setIsModalVisible(true)} color="white" />11 <Modal visible={isModalVisible} onRequestClose={() => setIsModalVisible(false)}>12 <View style={{ flex: 1, backgroundColor: "lightblue", padding: 60 }}>13 <Text>Modal content</Text>14 <Button title='Close' onPress={() => setIsModalVisible(false)} />15 </View>16 </Modal>17 </View>18}
animationType属性
这个属性控制modal的动画效果。
看上面Modal出现和消失,感觉有点生硬,这是因为Modal的animationType默认是none,它还有两种值fade和slide,分别看一下效果:
xxxxxxxxxx181// app/index.tsx23import { useState } from 'react'4import { View, Button, Modal, Text } from 'react-native'56export default function Index() {7 const [isModalVisible, setIsModalVisible] = useState(false);89 return <View style={{ flex: 1, backgroundColor: "plum", padding: 60 }}>10 <Button title='Press' onPress={() => setIsModalVisible(true)} color="white" />11 <Modal visible={isModalVisible} animationType='slide' presentationStyle='pageSheet' onRequestClose={() => setIsModalVisible(false)}>12 <View style={{ flex: 1, backgroundColor: "lightblue", padding: 60 }}>13 <Text>Modal content</Text>14 <Button title='Close' onPress={() => setIsModalVisible(false)} />15 </View>16 </Modal>17 </View>18}fade

slide
presentationStyle属性
这个属性控制modal怎么展示。有四种值,默认是fullScreen。
| Type | Default |
|---|---|
enum('fullScreen', 'pageSheet', 'formSheet', 'overFullScreen') | fullScreen if transparent={false}``overFullScreen if transparent={true} |
xxxxxxxxxx181// app/index.tsx23import { useState } from 'react'4import { View, Button, Modal, Text } from 'react-native'56export default function Index() {7 const [isModalVisible, setIsModalVisible] = useState(false);89 return <View style={{ flex: 1, backgroundColor: "plum", padding: 60 }}>10 <Button title='Press' onPress={() => setIsModalVisible(true)} color="white" />11 <Modal visible={isModalVisible} animationType='slide' presentationStyle='pageSheet' onRequestClose={() => setIsModalVisible(false)}>12 <View style={{ flex: 1, backgroundColor: "lightblue", padding: 60 }}>13 <Text>Modal content</Text>14 <Button title='Close' onPress={() => setIsModalVisible(false)} />15 </View>16 </Modal>17 </View>18}
看一下pageSheet的效果:
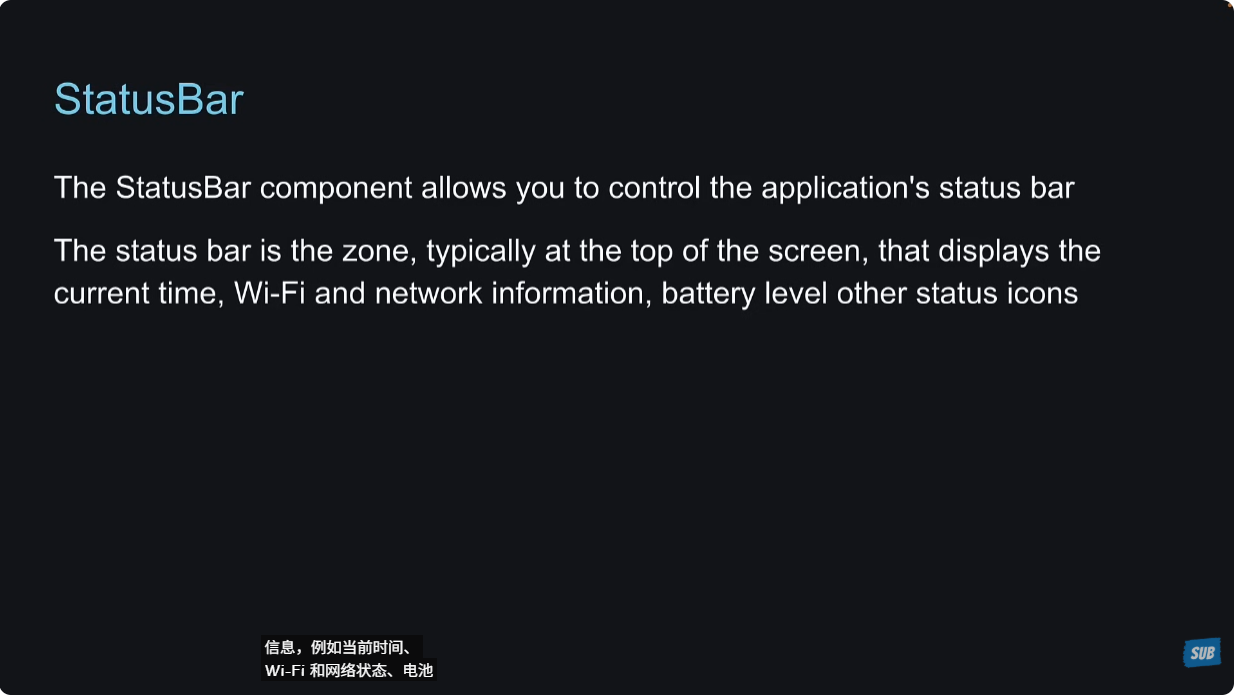
15 - Status Bar
这个组件我还是第一次遇到,之前写小程序的时候,是不能够控制手机顶部栏的,所以这一点我是很难理解的,官提供了一个案例,可以在手机上体验一下https://reactnative.dev/docs/statusbar。
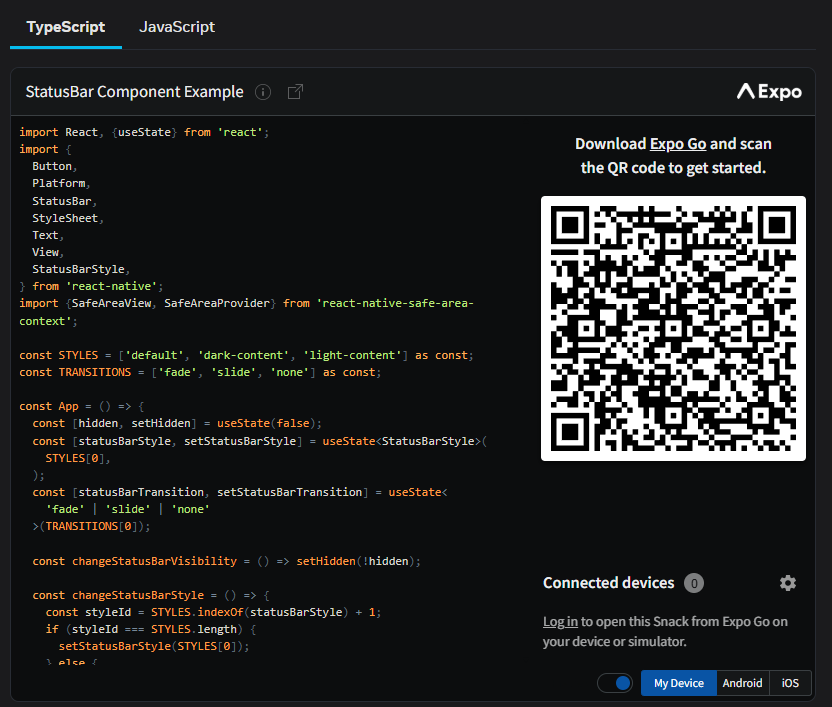
可以看到,真的是控制手机顶部栏,之前真的没有操作过这个东西,还是蛮新奇的。
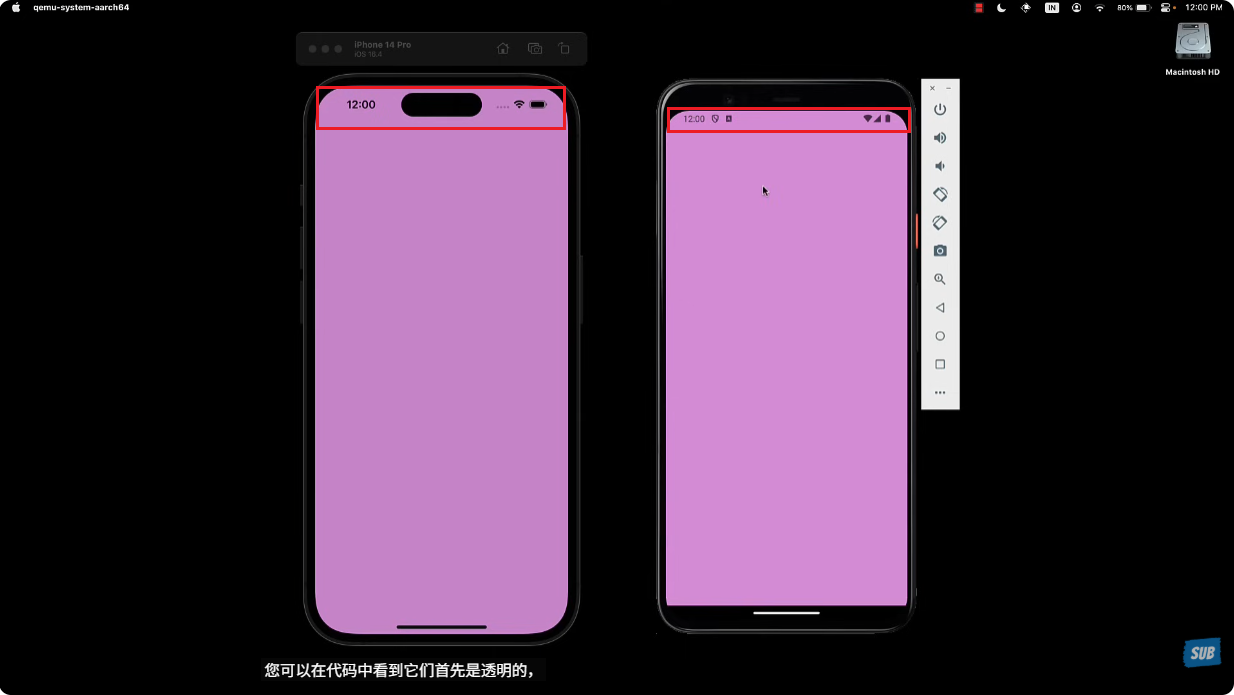
Status Bar指的就是红框内的部分。
xxxxxxxxxx241// app/index.tsx23import { useState } from 'react'4import { View, StatusBar, Button, StatusBarStyle, Text } from 'react-native'56export default function Index() {7 const [step, setStep] = useState(0)8 const arr: StatusBarStyle[] = ['default', 'light-content', 'dark-content'];9 const toggleBarStyle = () => {10 if(step === 2) {11 setStep(0)12 } else {13 setStep(step+1)14 }15 }1617 return <View style={{ flex: 1, backgroundColor: "plum", padding: 60 }}>18 <StatusBar backgroundColor="lightgreen" barStyle={arr[step]} />19 <Button title="toggle barstyle" onPress={toggleBarStyle} />20 <Text style={{textAlign: "center"}}>21 current barStyle: {arr[step]}22 </Text>23 </View>24}上面的代码是我根据学习的内容写的,还是比较简单的,就是来切换barStyle查看效果:
老师讲解了三个属性,当然还有很多。backgroundColor属性只在android端起作用,在ios中没有作用。barStyle属性有三种值,设置文字的颜色Sets the color of the status bar text。hidden属性,设置是否隐藏Status bar。
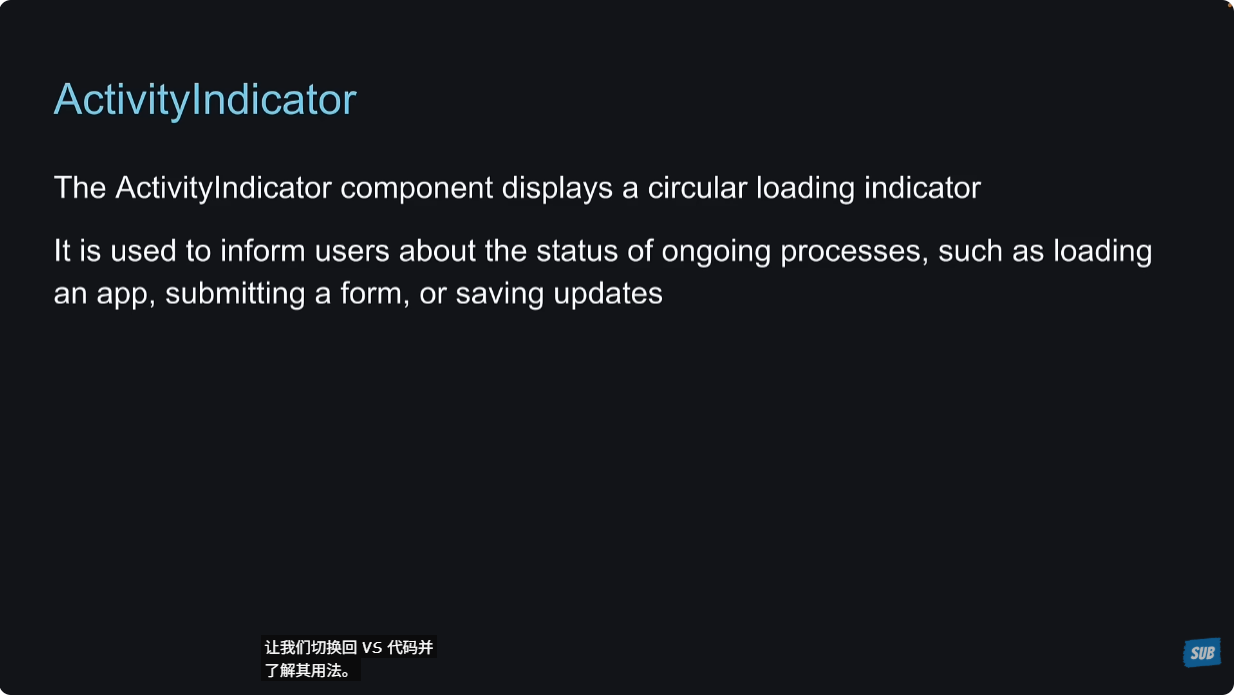
16 - Activity Indicator
就类似于web端的loading。
size属性
用来设置activity indicator的大小,有两种值。
Size of the indicator.
| Type | Default |
|---|---|
enum('small', 'large')number Android | 'small' |
color属性
设置spinner的前景色。
The foreground color of the spinner.
| Type | Default |
|---|---|
| color | null (system accent default color)Android,'#999999' iOS |
animating属性
设置显示或者隐藏activity indicator。
Whether to show the indicator (true) or hide it (false).
| Type | Default |
|---|---|
| bool | true |
xxxxxxxxxx121// app/index.tsx23import { View, ActivityIndicator } from 'react-native'45export default function Index() {6 return <View style={{ flex: 1, backgroundColor: "plum", padding: 60 }}>7 <ActivityIndicator />8 <ActivityIndicator size="large" />9 <ActivityIndicator size="large" color="lightblue" />10 <ActivityIndicator size="large" color="red" animating={false} />11 </View>12}
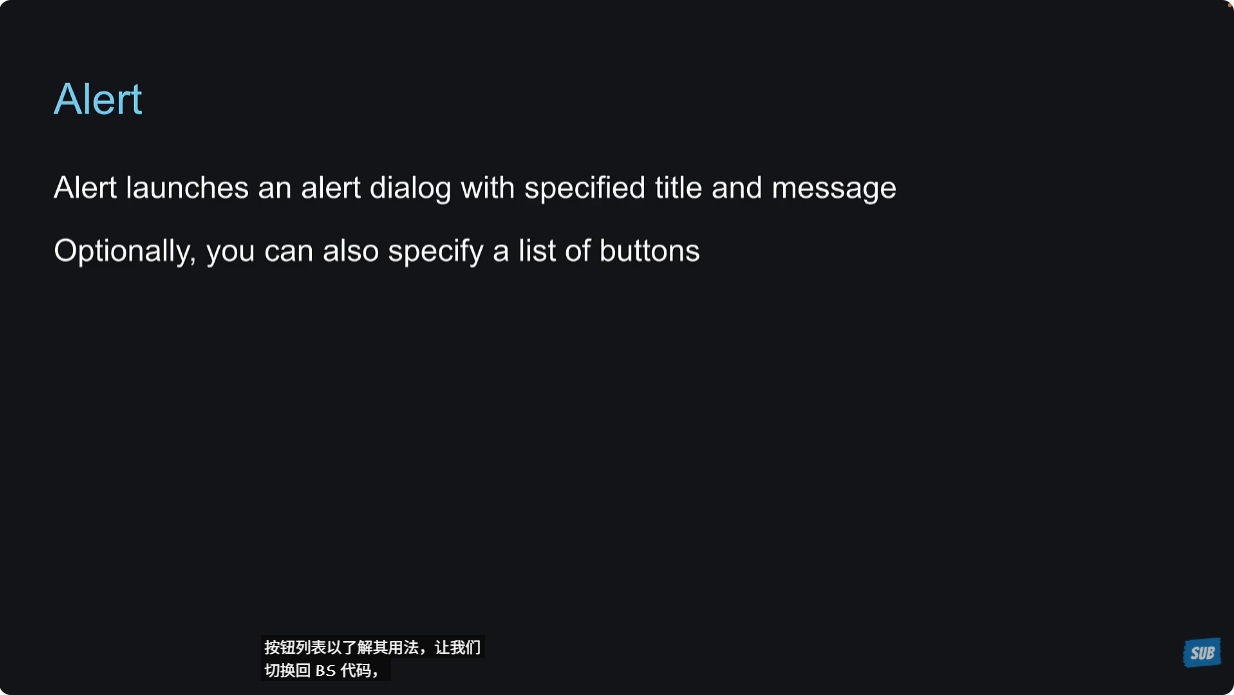
17 - Alert
Alert严格意义上来说是一个API,但是它可以调起一个alert dialog,所以老师把它作为core components的一部分来讲解了。
Alert的alert方法类型:
xxxxxxxxxx61static alert (2 title: string,3 message?: string,4 buttons?: AlertButton[],5 options?: AlertOptions,6);Parameters:
| Name | Type | Description |
|---|---|---|
| title Required | string | The dialog's title. Passing null or empty string will hide the title. |
| message | string | An optional message that appears below the dialog's title. |
| buttons | AlertButton[] | An optional array containing buttons configuration. |
| options | AlertOptions | An optional Alert configuration. |
xxxxxxxxxx201// app/index.tsx23import { View, Alert, Button } from 'react-native'45export default function Index() {6 return <View style={{ flex: 1, backgroundColor: "plum", padding: 60 }}>7 <Button title='Alert' onPress={() => Alert.alert("Invalid data!")} />8 <Button title="Alert 1" onPress={() => Alert.alert("Invalid data!", "DOB incorrect!")} />9 <Button title='Alert 2' onPress={() => Alert.alert("Invalid data!", "DOB incorrect!", [10 {11 text: "Cancel",12 onPress: () => console.log("Cancel pressed")13 },14 {15 text: "OK",16 onPress: () => console.log("OK pressed")17 }18 ])} />19 </View>20}

18 - Custom Components
上面我们学习了10个core components,很多情况下我们通过组合这些组件,来编写自定义组件。
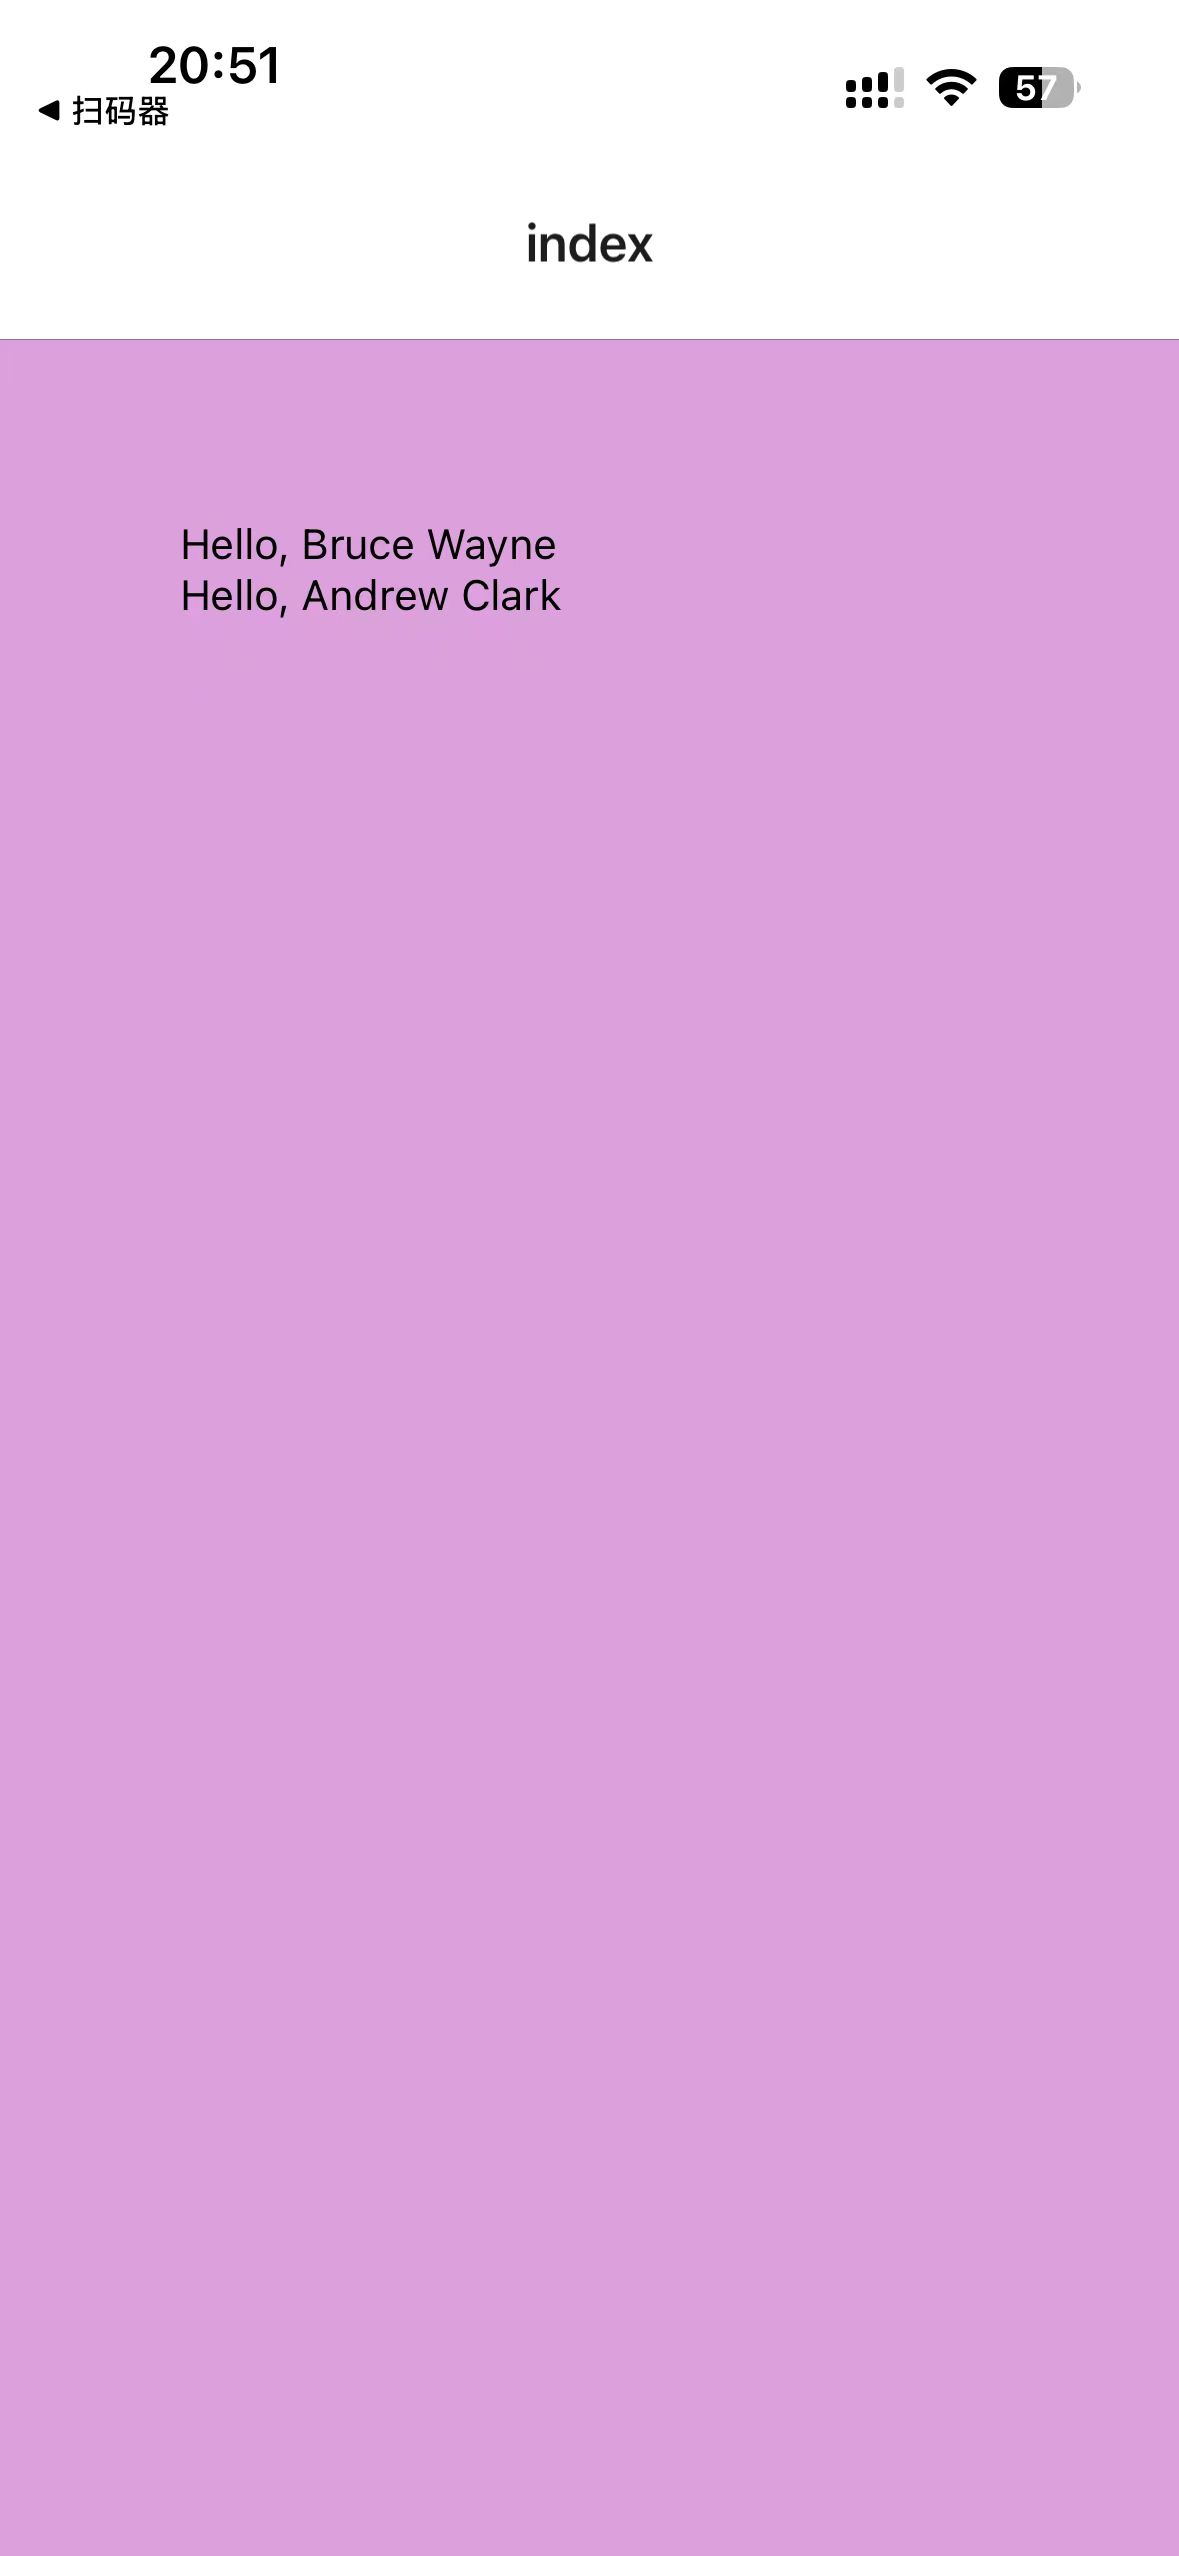
创建组件HelloWorld\components\Greet.tsx,自定义一个简单组件。
xxxxxxxxxx131// HelloWorld/components/Greet.tsx23import { View, Text } from "react-native";45export default function Greet({ name }: {6 name: string7}) {8 return (9 <View>10 <Text>Hello, {name}</Text>11 </View>12 )13}引入到app/index.tsx中,查看效果:
到这里就学完了react native里面的core components,还有很多components和API,这些都可以在做项目的时候学习。
接下来学习styling。